Posts in Craft
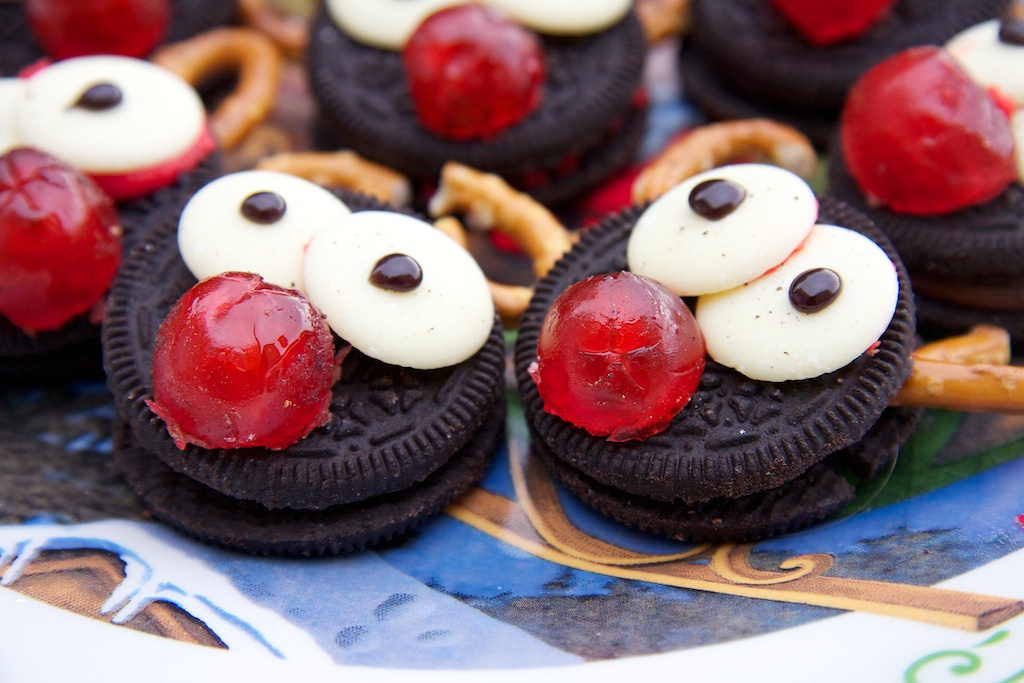
No Bake Rudolph Biscuits
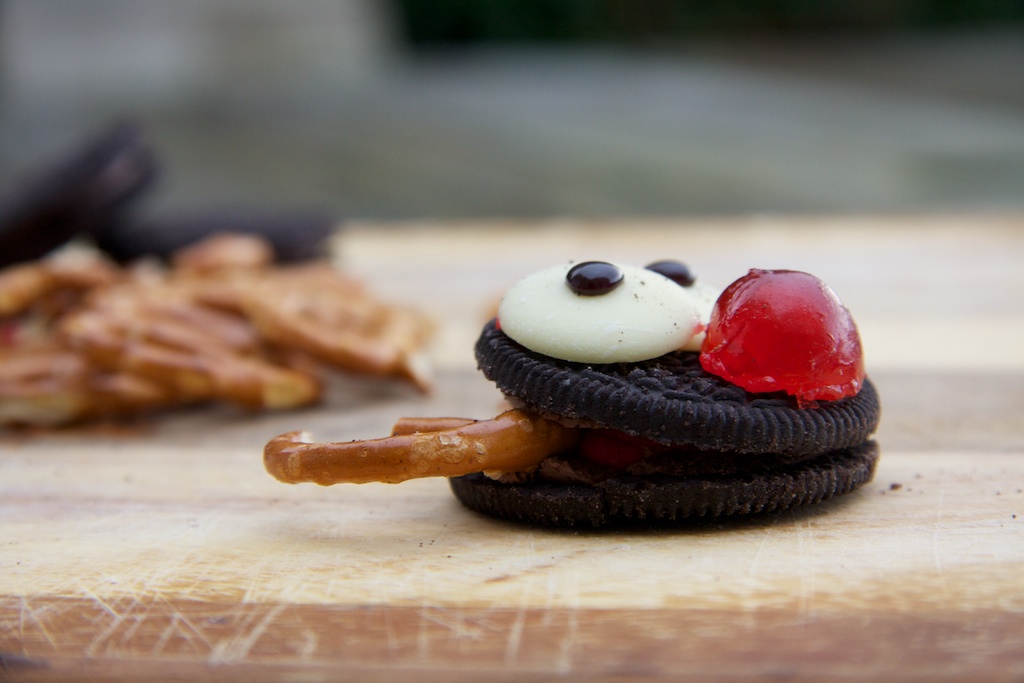
Rudolph-Biscuits-2.jpg

An easy and quick idea for your little ones Christmas party! The hard bit is separating the Oreo's without breaking them!

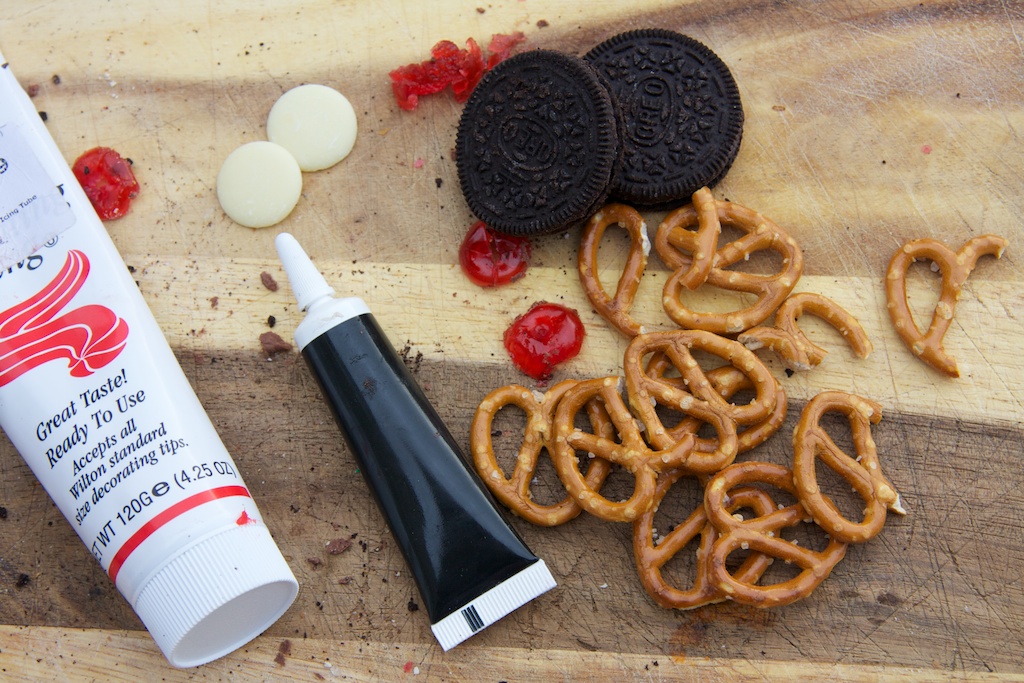
Take a chocolate Oreo cookie, slice the top from the bottom carefully with a sharp nice. Squirt some icing in the middle and stick 2 pretzel halves in as antlers.

Lay the top of the cookie back on and add two chocolate button eyes and a red cherry nose. I used a black icing pen to finish the eyes!

Scrappy Fabric Wreath
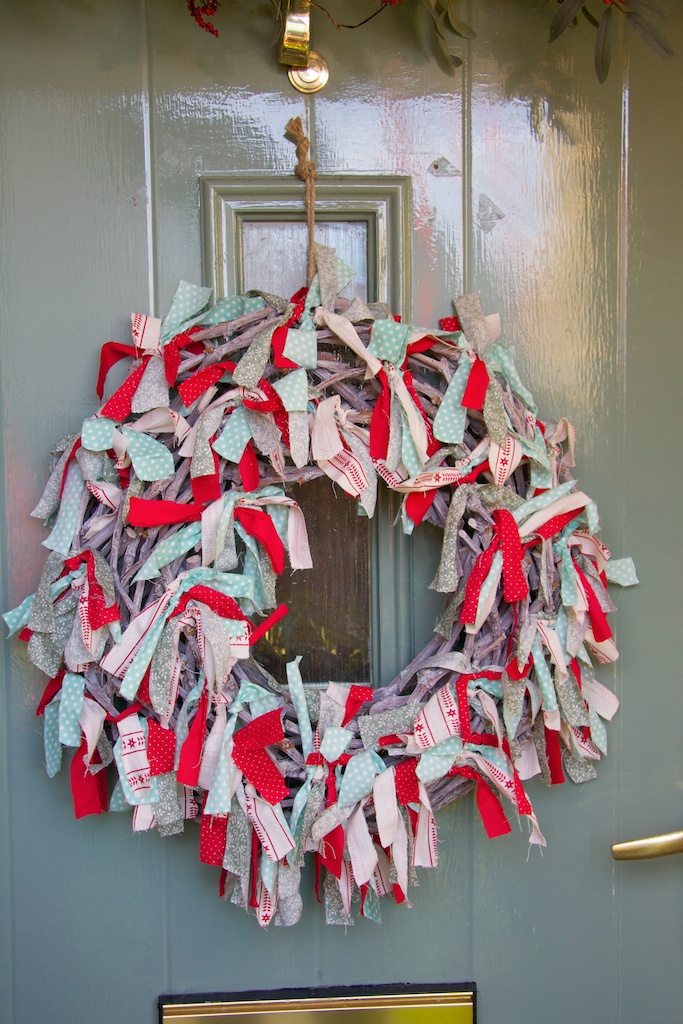
scrappy-wreath-23.jpg

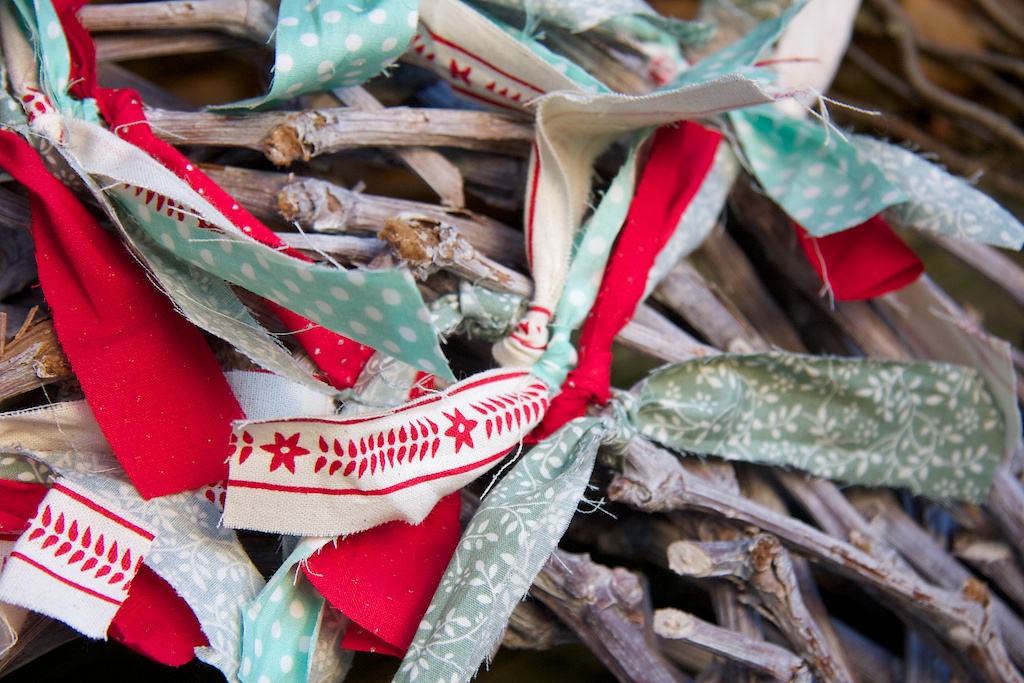
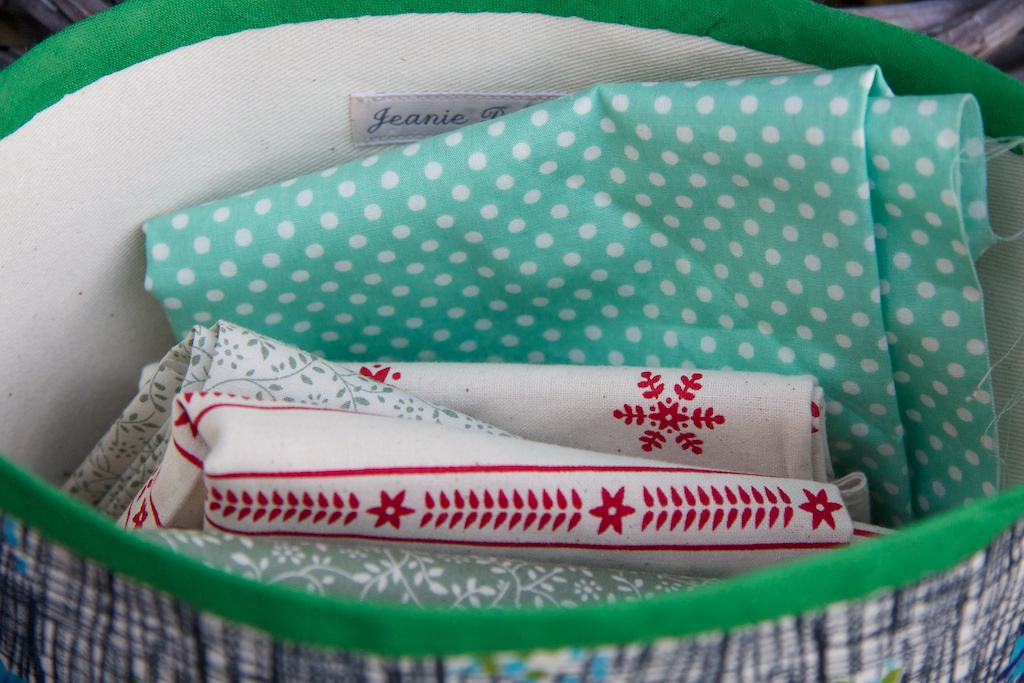
There is an old, very traditional fabric shop in the back streets of Weston super Mare. It has no frills but has plenty of fabric including a fab selection of off cuts ready for patchwork. I buy a few occasionally for craft projects and photo back drops and recently bought 3 to make a scrappy wreath, along with some I had left over at home. I am useless at sewing so this is as seamstress like as I get!

Cut your fabric into approx 6 inch lengths, 1 inch wide. The rougher the better so don't worry about any stray ends of some being slightly wider or longer than others.

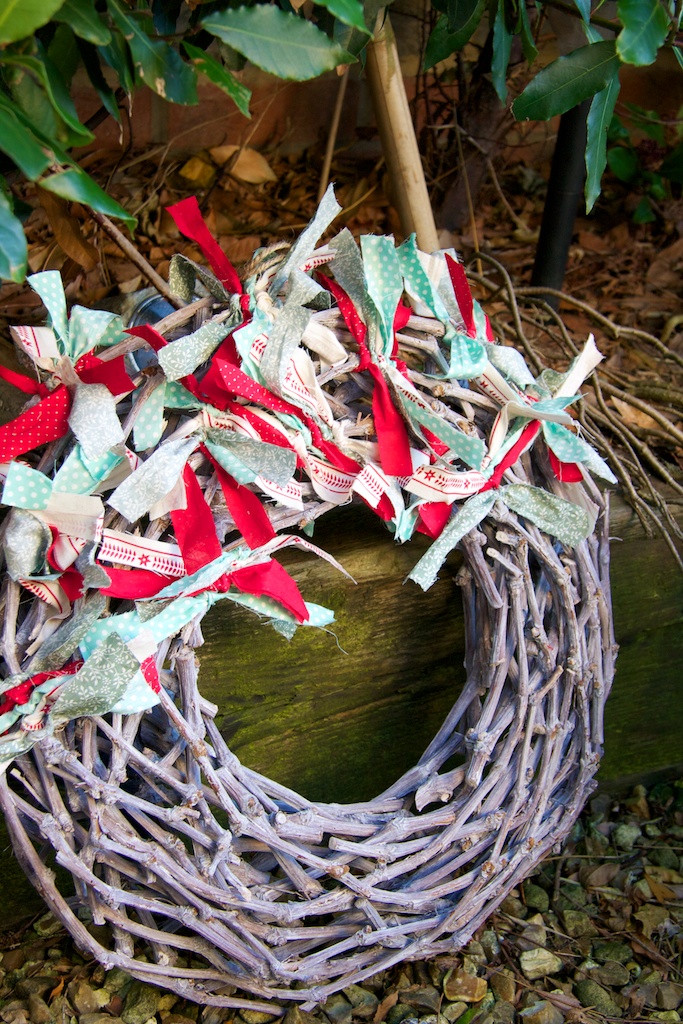
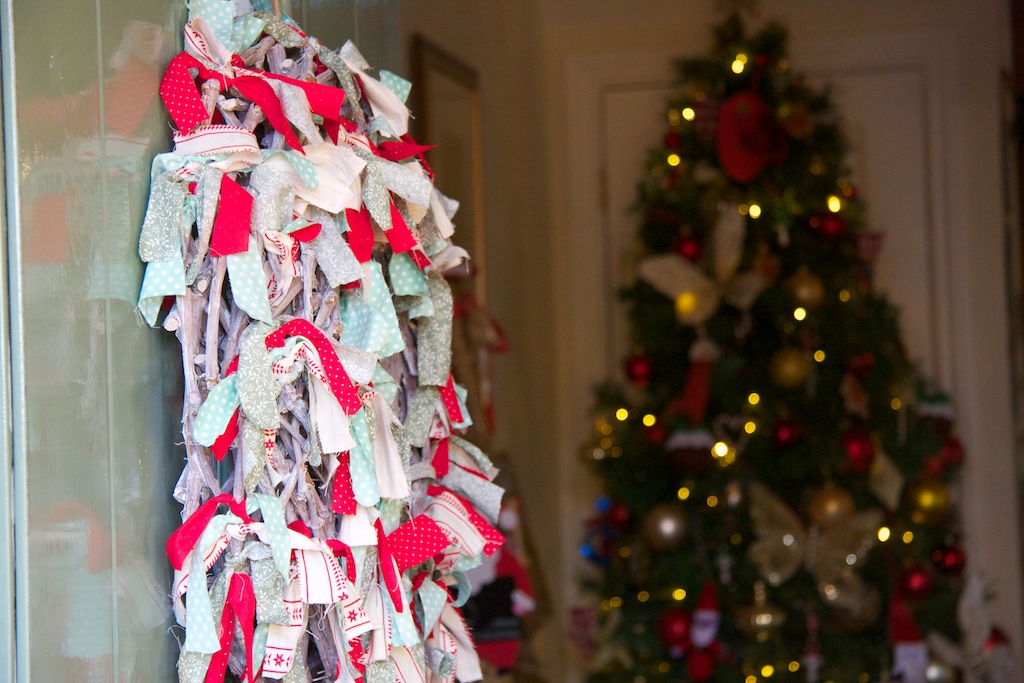
I tied mine in simple knots to a large twig wreath in a repeated sequence. 5 strips per group with the ends being the same fabric.

Dig out some off cuts as a cheap and easy but very effective holiday wreath!

I was going to add some battery operated fairy lights but it looked perfect just as it is.
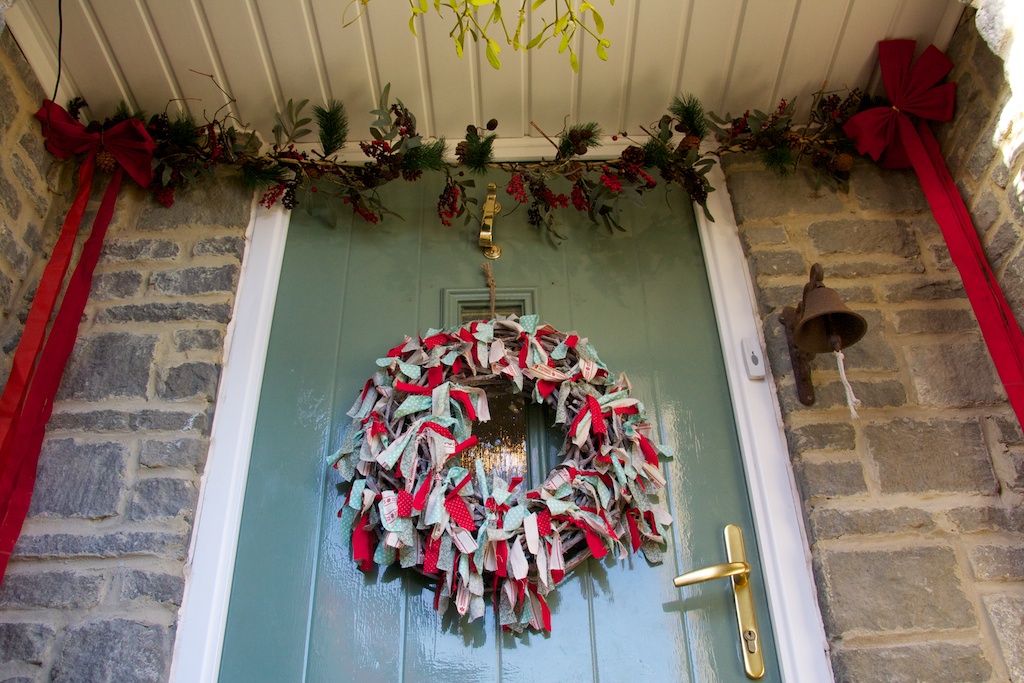
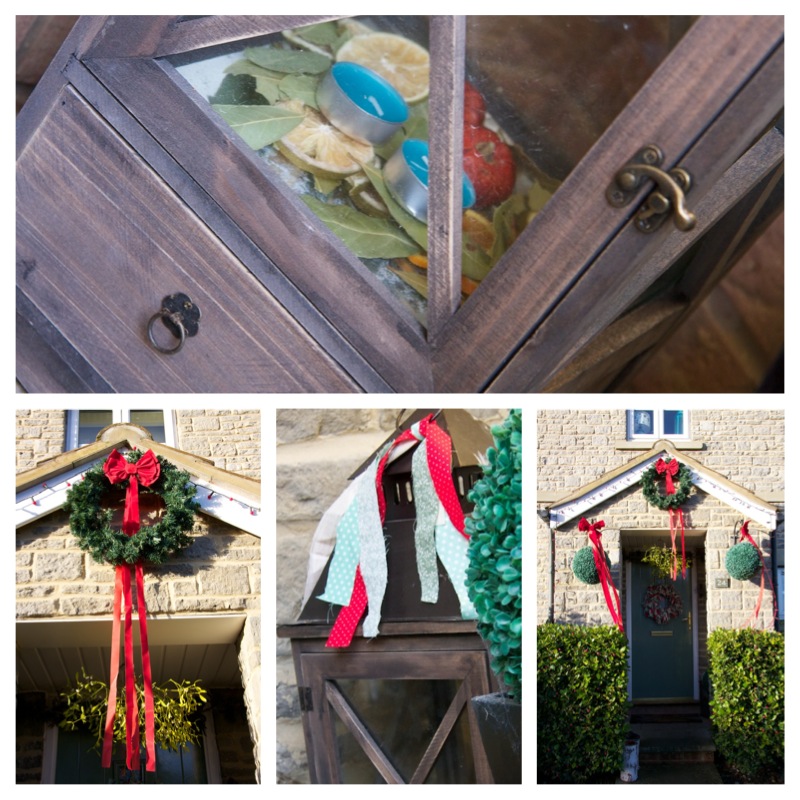
I love the front of the house. Big, bold and very festive! I have reused the $1 bows I bought in America last December and filled the lanterns in the porch with festive dried fruit and bay leaves so it smells sweet for visitors!

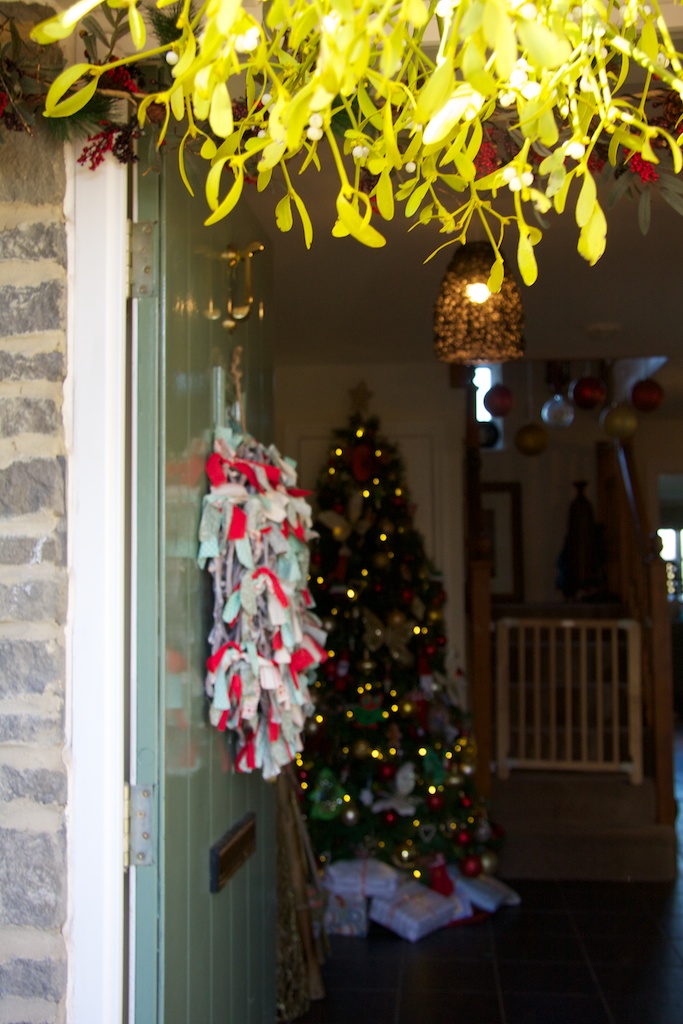
The big bunch of mistletoe completes the porch for me, even if you do have to duck when you come in!
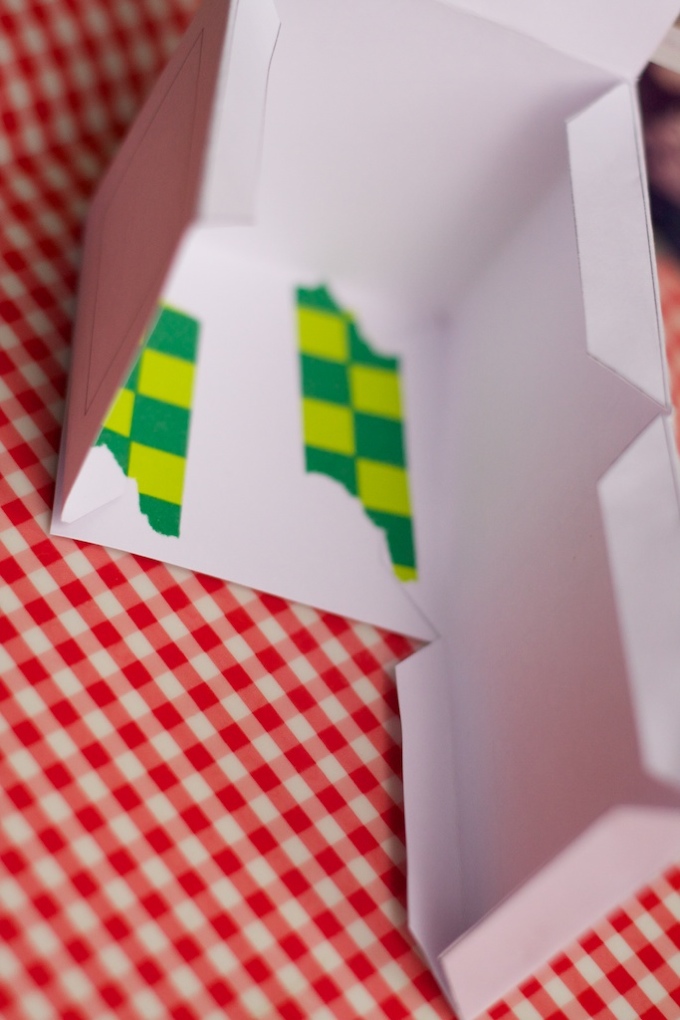
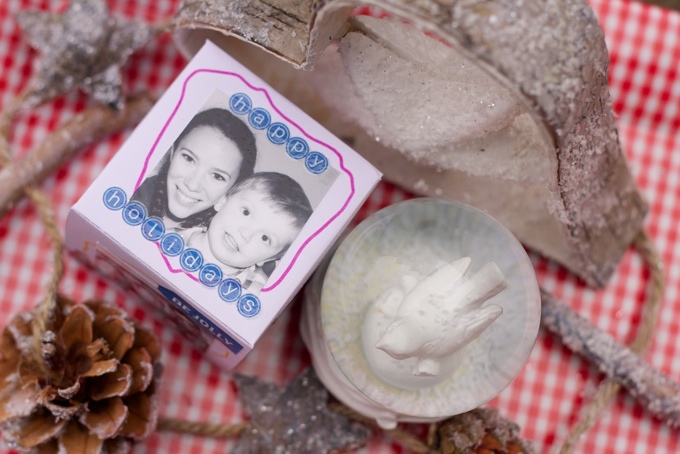
Print your own Paper Photo Cube
photocube-4.jpg

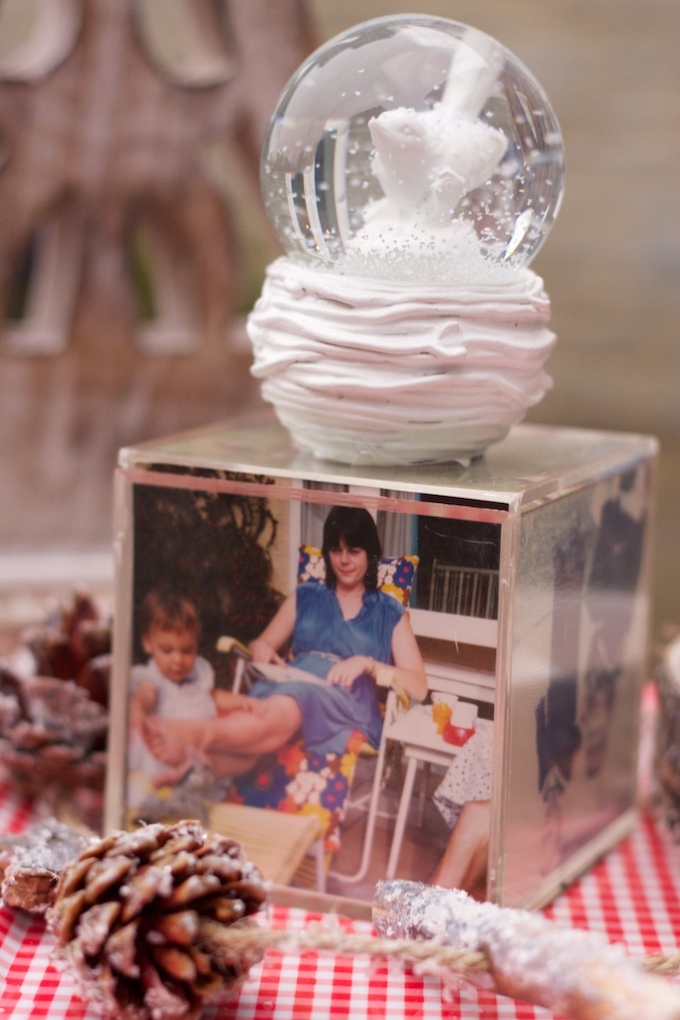
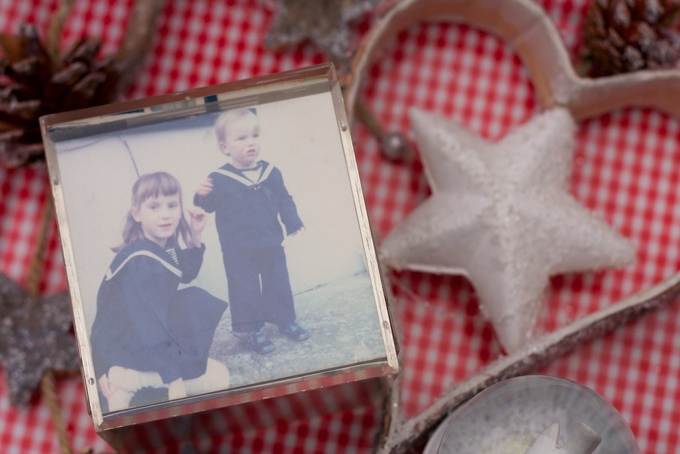
I love displaying photos around the house and this year the grandparents will be getting a lovely one from our recent family shoot. Photos can make great gifts especially in homemade frames! My grandparents have always had a huge influence and been an inspiration to me. I vividly remember them keeping a perspex photo cube on their bedside table. The photographs they chose to display, completely summed up my childhood. Birthdays, afternoons in the garden and traditional British outfits - check out my cousins in their sailor suits!

Fill the box with tissue and stash a little present inside. Perfect for table favours or a thank you for your children's teacher.

Materials:

  • Card - plain or patterned
  • Sticky tape
  • Photos cut to size (4.25cm by 4.25cm)
  • Embellishments, pens, stickers, glitter!
Instructions:

Step 1: Print

Step 2: Decorate

Step 3: Assemble using sticky tape

Step 4: Either cut out the photo squares and place your photos inside the cube or stick to the outer sides

Printable Photo Cube


You can also open the file in Photoshop and overlay your images to print straight onto the card.

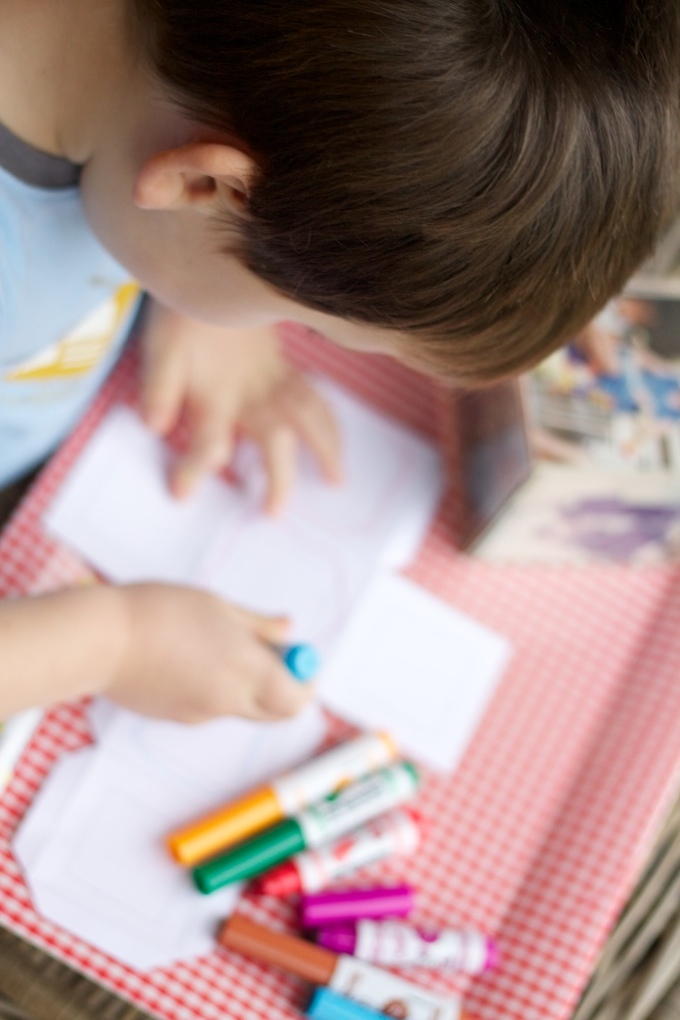
Get your children involved and decorate them together.

My gift to you, a printable Photo Cube!

As my grandparents would say "Compliments of the Season!"

This post was originally featured on See Vanessa Craft on 30th November 2012 as part of the 20 Crafty Days of Christmas.