Posts in Craft
Free Valentines Printable • You Bowl Me Over

Now I know not every loves the idea of Valentine's for class mates and friends, but I LOVE it!

Cast your mind back to when you were at Junior School - didn't you just love it when you went home with a Valentine's card from a playground admirer?! 

Sammy has just 6 girls in his class - 6 out of 30! And wanted to send them all a little something.

Valentine Printable

I saw these packets of Skittles and decided a cheesy line was perfect :) 

Valentines Printable
Free Valentine's Printable

You can download the printable by clicking on the image below.

Valentines Gift

Are you a lover all all things hearts and lovely for this Friday or have I managed to win you over?!

If you have a go at making these please tweet me or Facebook me a photo! 

Now go and spread some luuuurveeee ;)

How to prepare flowers • woody stems

I adore having fresh flowers in the house.

I try and make them last as long as possible to get the maximum enjoyment out of them!

How to prepare flowers.jpg

And I always get so frustrated when I see people posting pictures of beautiful bouquets on Facebook and Twitter still in their paper wrapping or just plonked in a vase. The reason being they would last twice as long if you spent a little time preparing them.

Don't you just hate slimy stems and stinky water?!

Follow these simple steps and you will have beautiful blooms for longer.

How to prepare flowers

These tips are for woody stemmed flowers, which at this time of year seem so appropriate. Winter greens and hardier flowers. For most other types of flowers just skip the step where you cut up into the stem.

Step 1 • Condition

It might seem like a hassle or a waste of time, but giving your flowers a proper drink when you get them home will work wonders.

Take them out of their wrapping and remove any elastic bands.

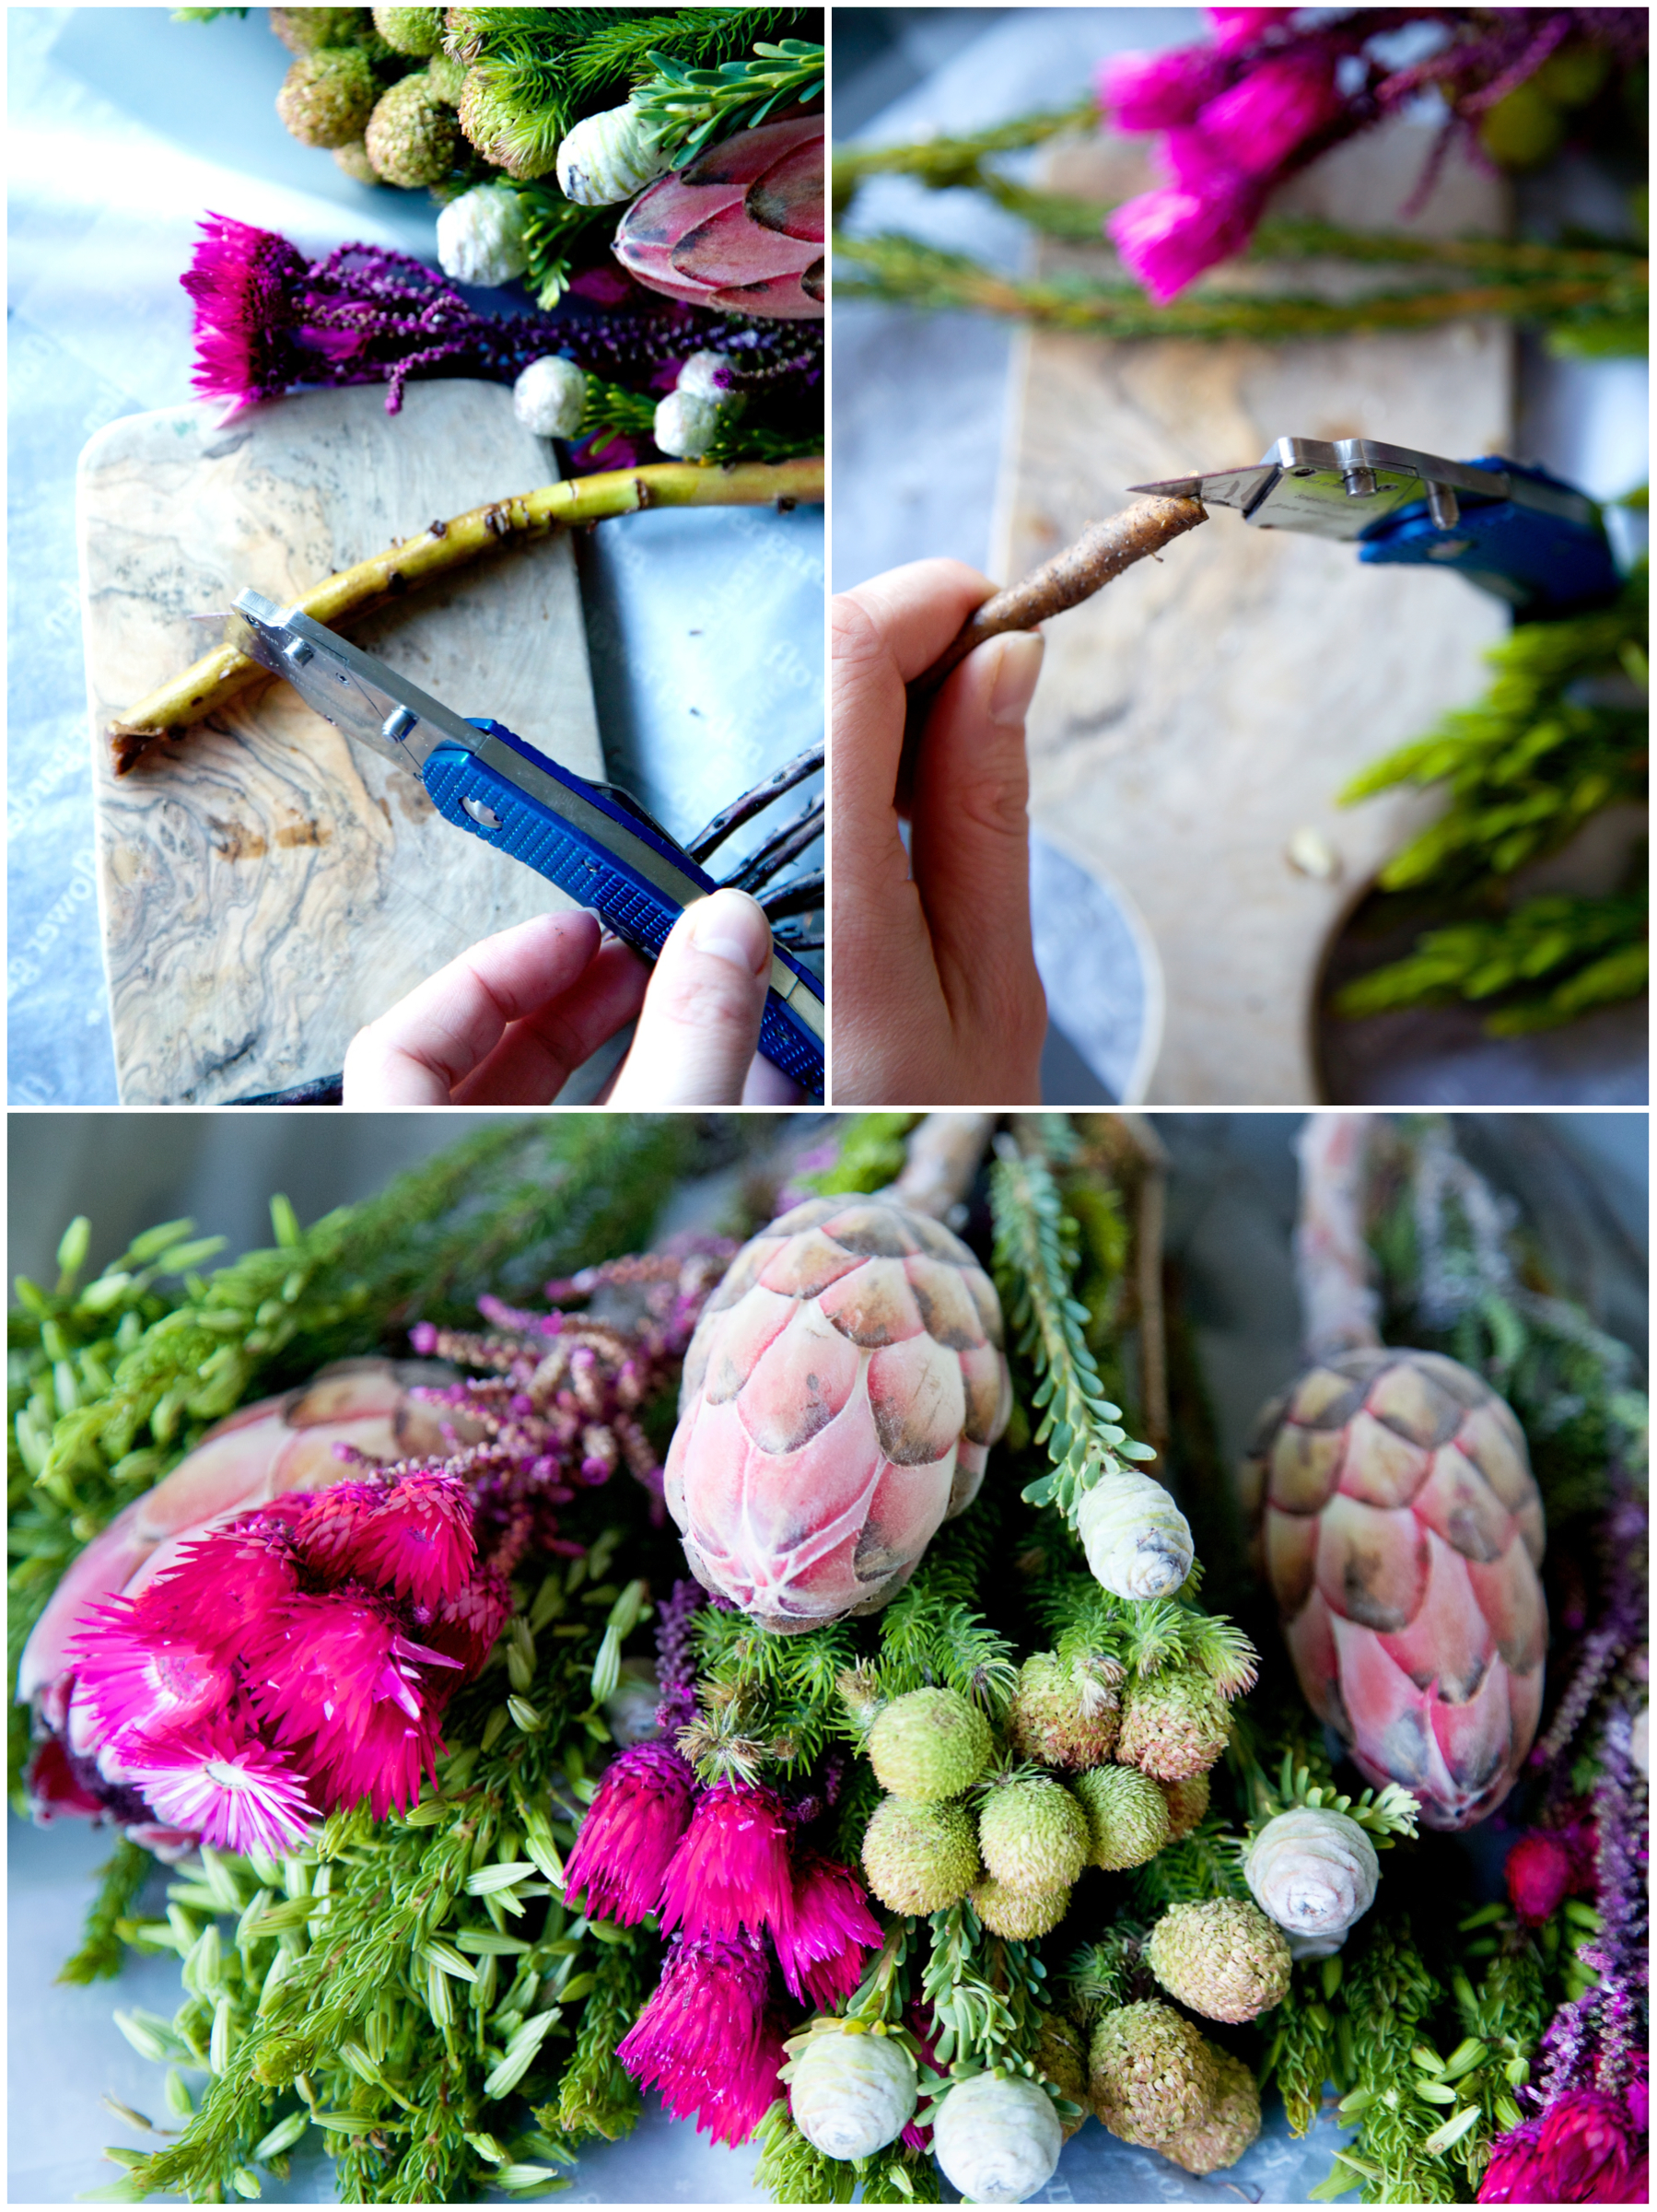
Take a knife and cut the bottom of the stems at a slant and cut up into the stem. Do not be tempted to twist and snap the ends off. 

How to cut flowers

Snip off any excess foliage.

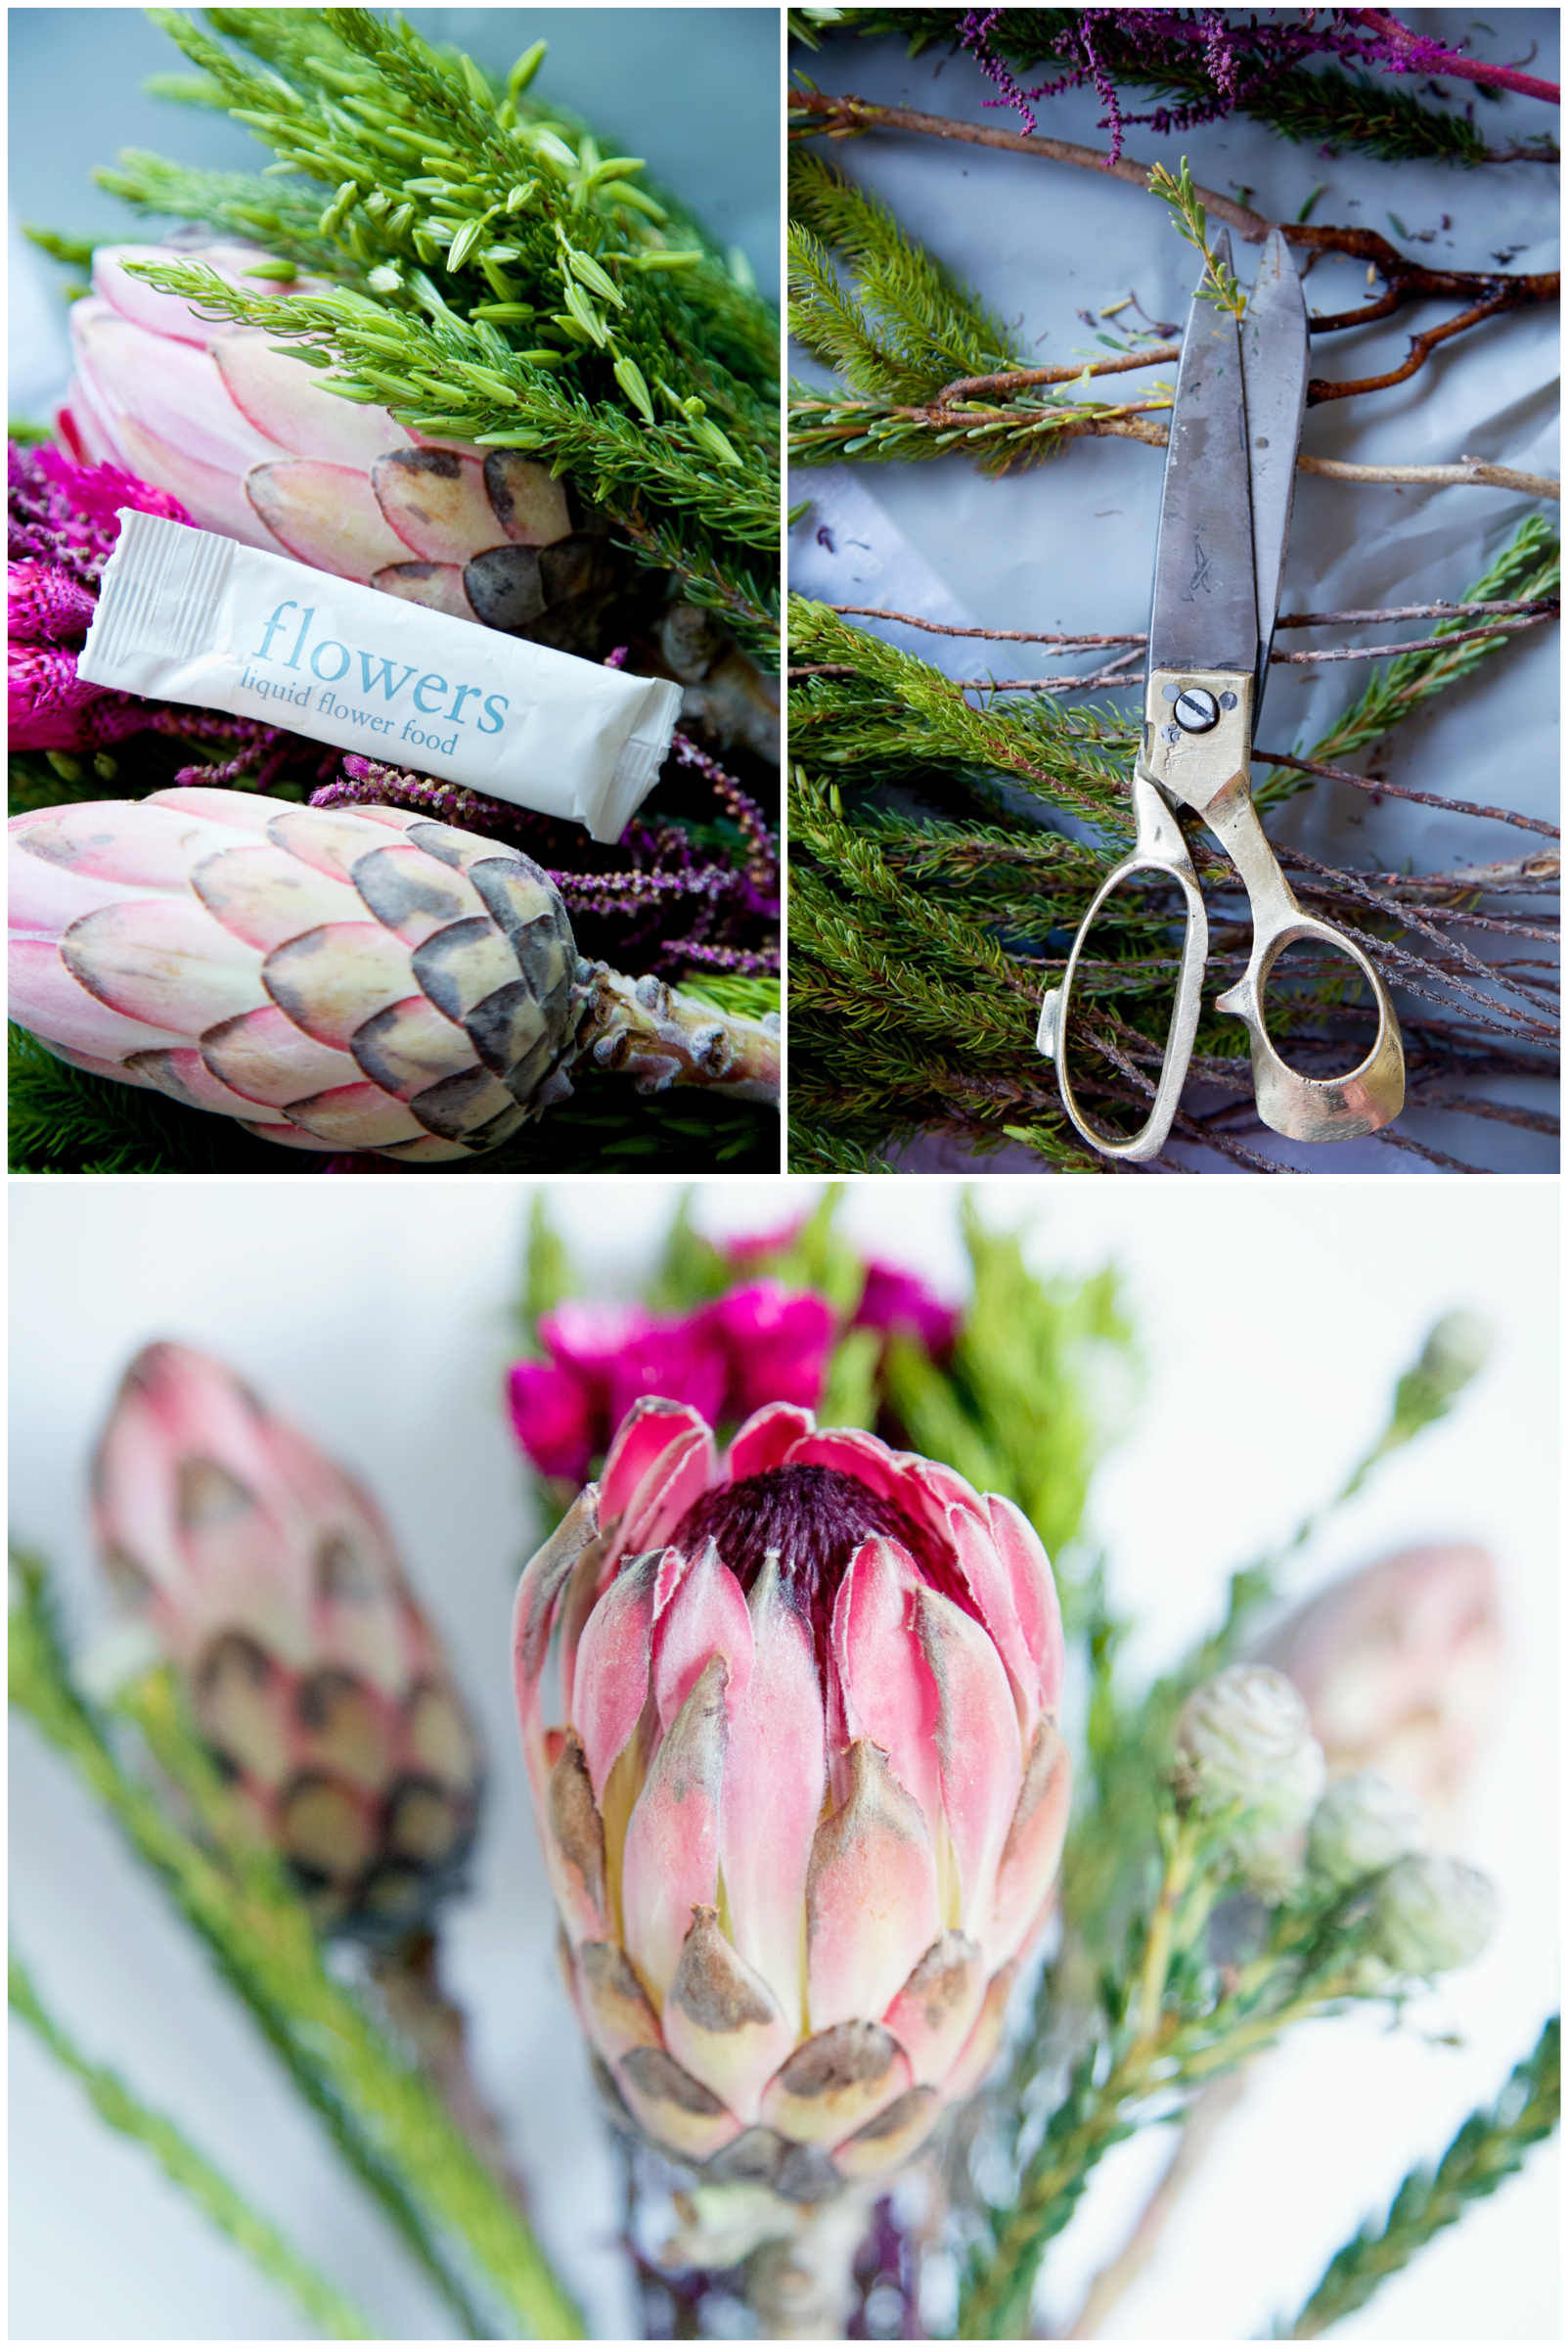
Place them in a clean bucket (or large vase if you don't have a bucket handy) filled approximately a quarter full of luke warm water. Add a packet of flower food.

How to prepare flowers

Leave for 4 hours of overnight is best.

Step 2 • Cutting 

Post conditioning repeat the cutting process. 

Step 3 • Arrange

Remove all foliage below the water line. If you don't it will encourage bacteria to grow and that leads to the dreaded slimy stems.

Ensure you don't over crowd your stems. A full arrangement looks wonderful, but they all need room to breathe! 

You can add a teaspoon of liquid bleach or neat alcohol to help keep bacteria at bay.

I always arrange from the centre. I start with my middle stem and work around it, building the arrangement up in concentric circles.

That way, when you look at an arrangement straight on, you should be able to see every bloom.

I like to get as many arrangements as possible from one bunch. So I will use lots of little vases or bottles, as well as one larger but more sparse arrangement for the centre of the dining table or middle of the sideboard.

Pink flower
How to prepare flowers

Who is hoping to get some flowers next Friday?! 

Once Rich sent me an enormous bouquet of long stemmed roses to my office. I was so overwhelmed I almost cried! That was before we were married, last year he bought me red wellingtons instead. And I love them just as much!

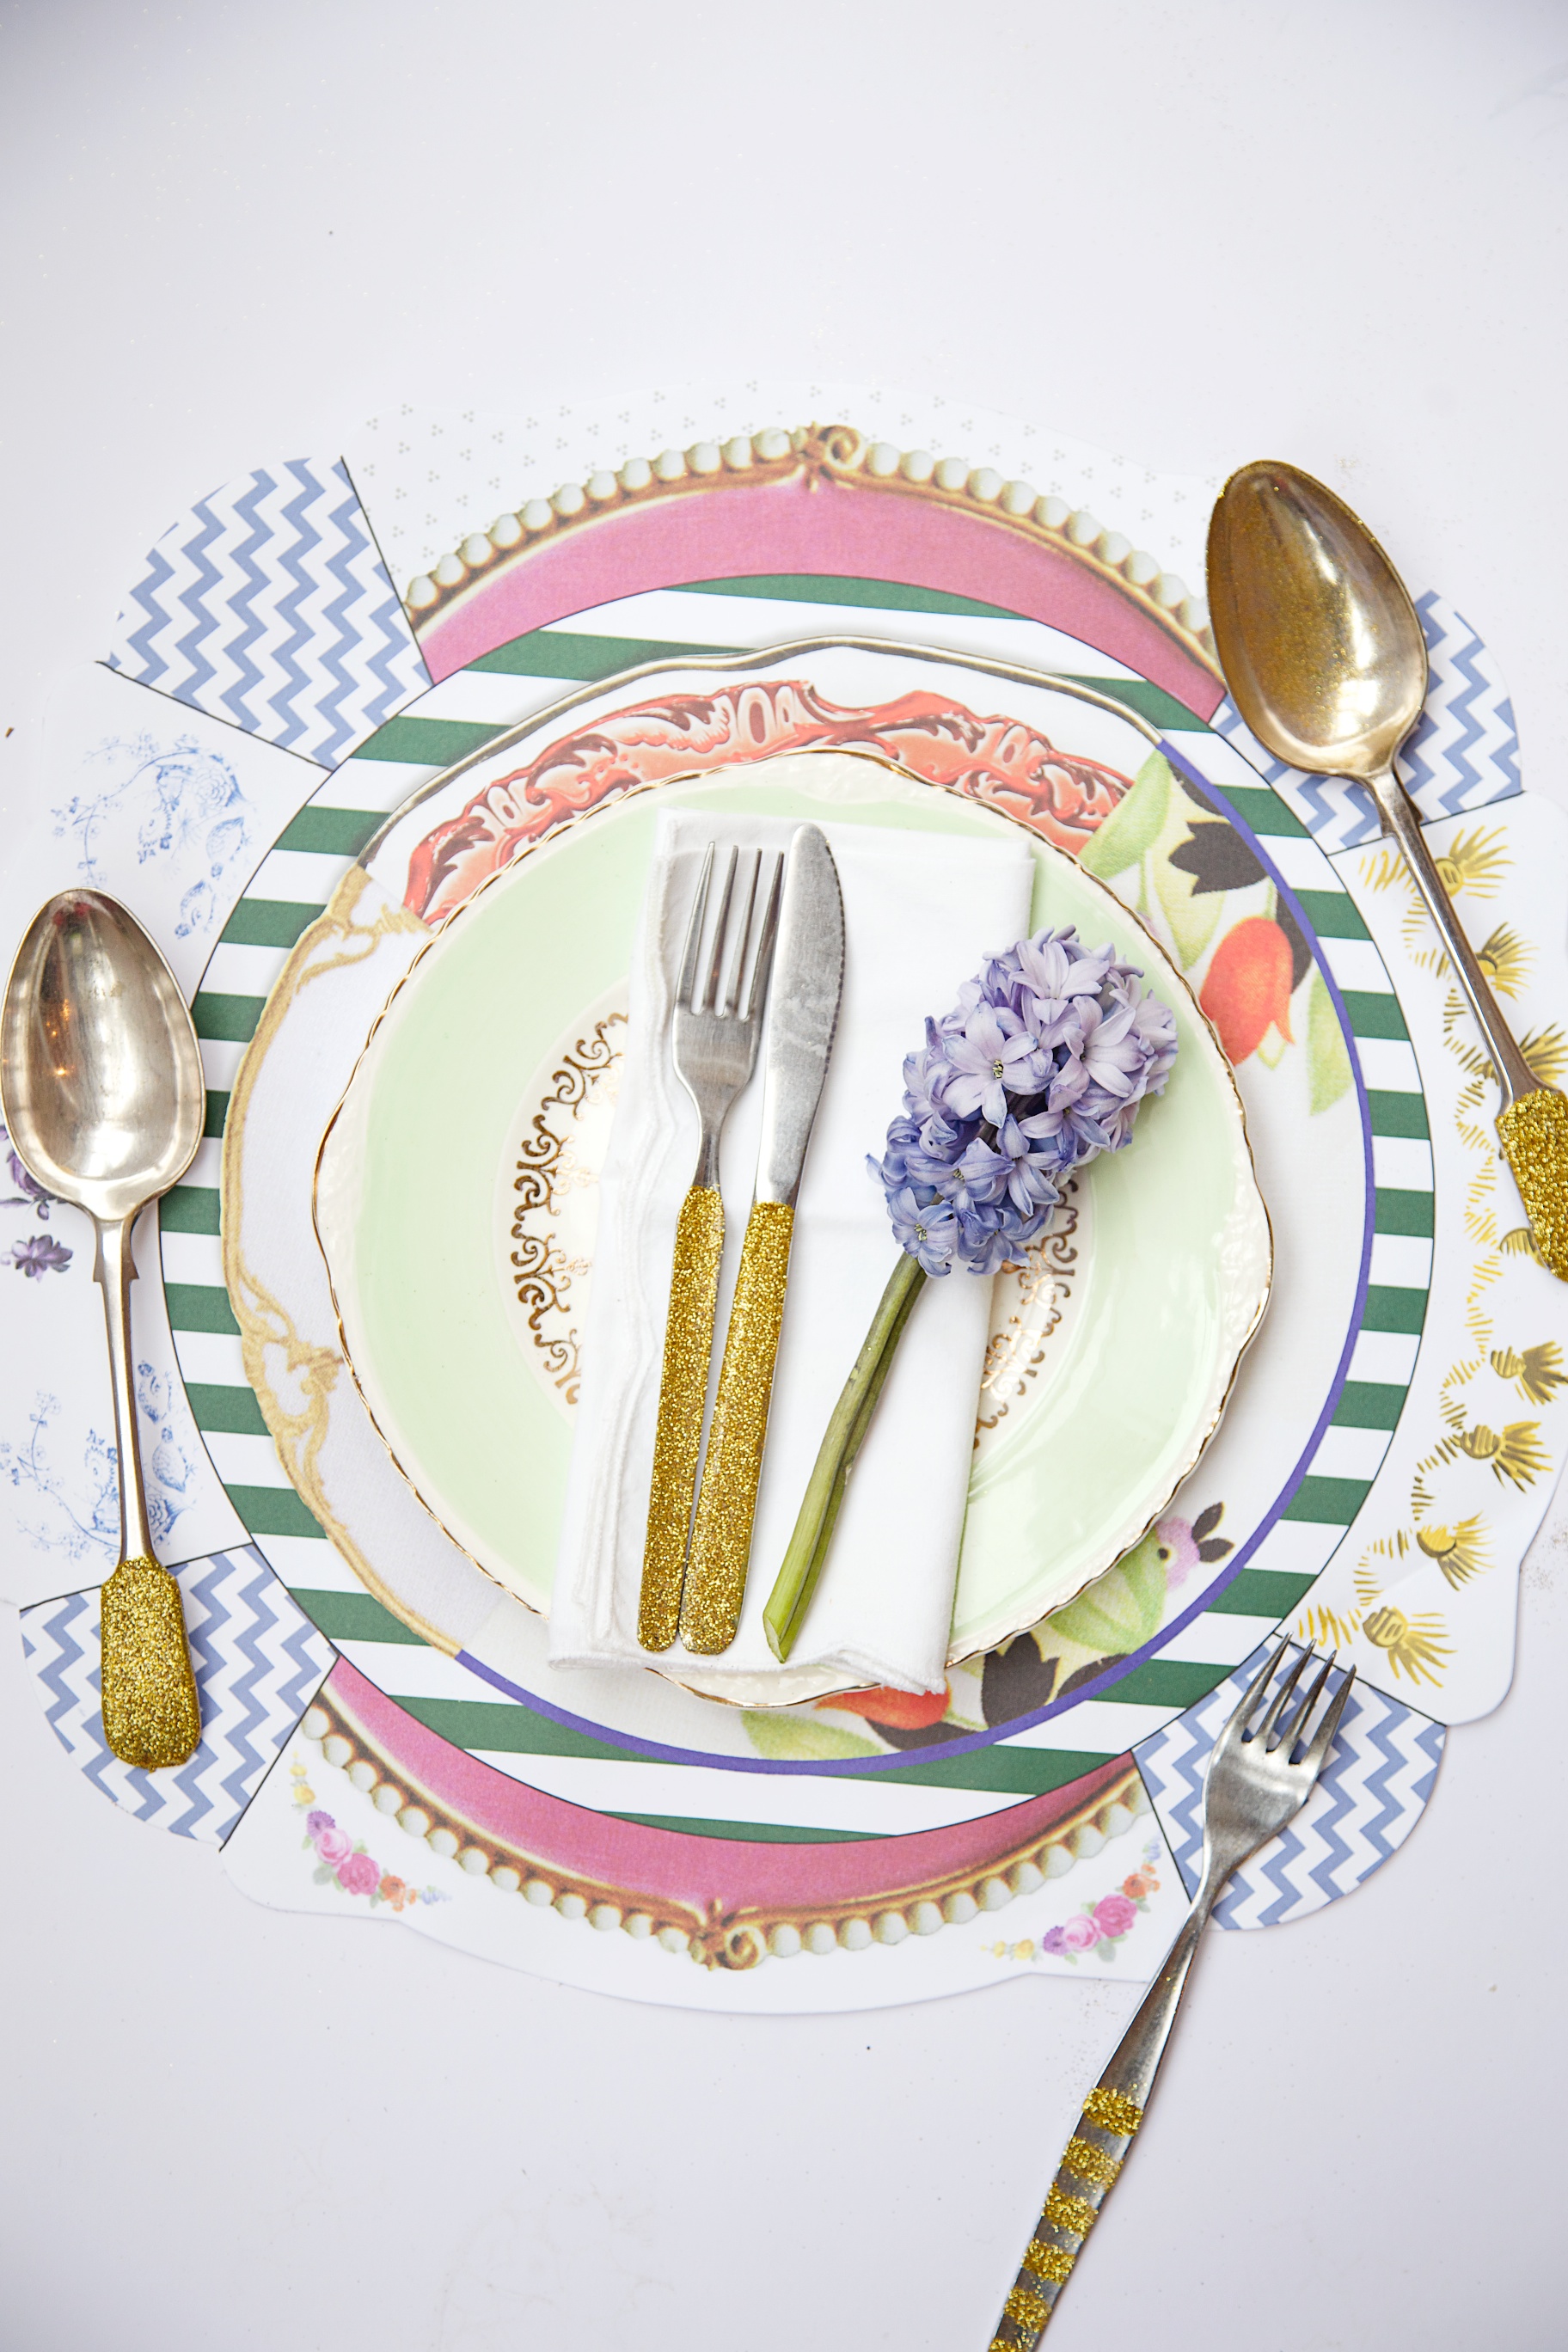
DIY Glitter Cutlery

This is grown up glitter play.

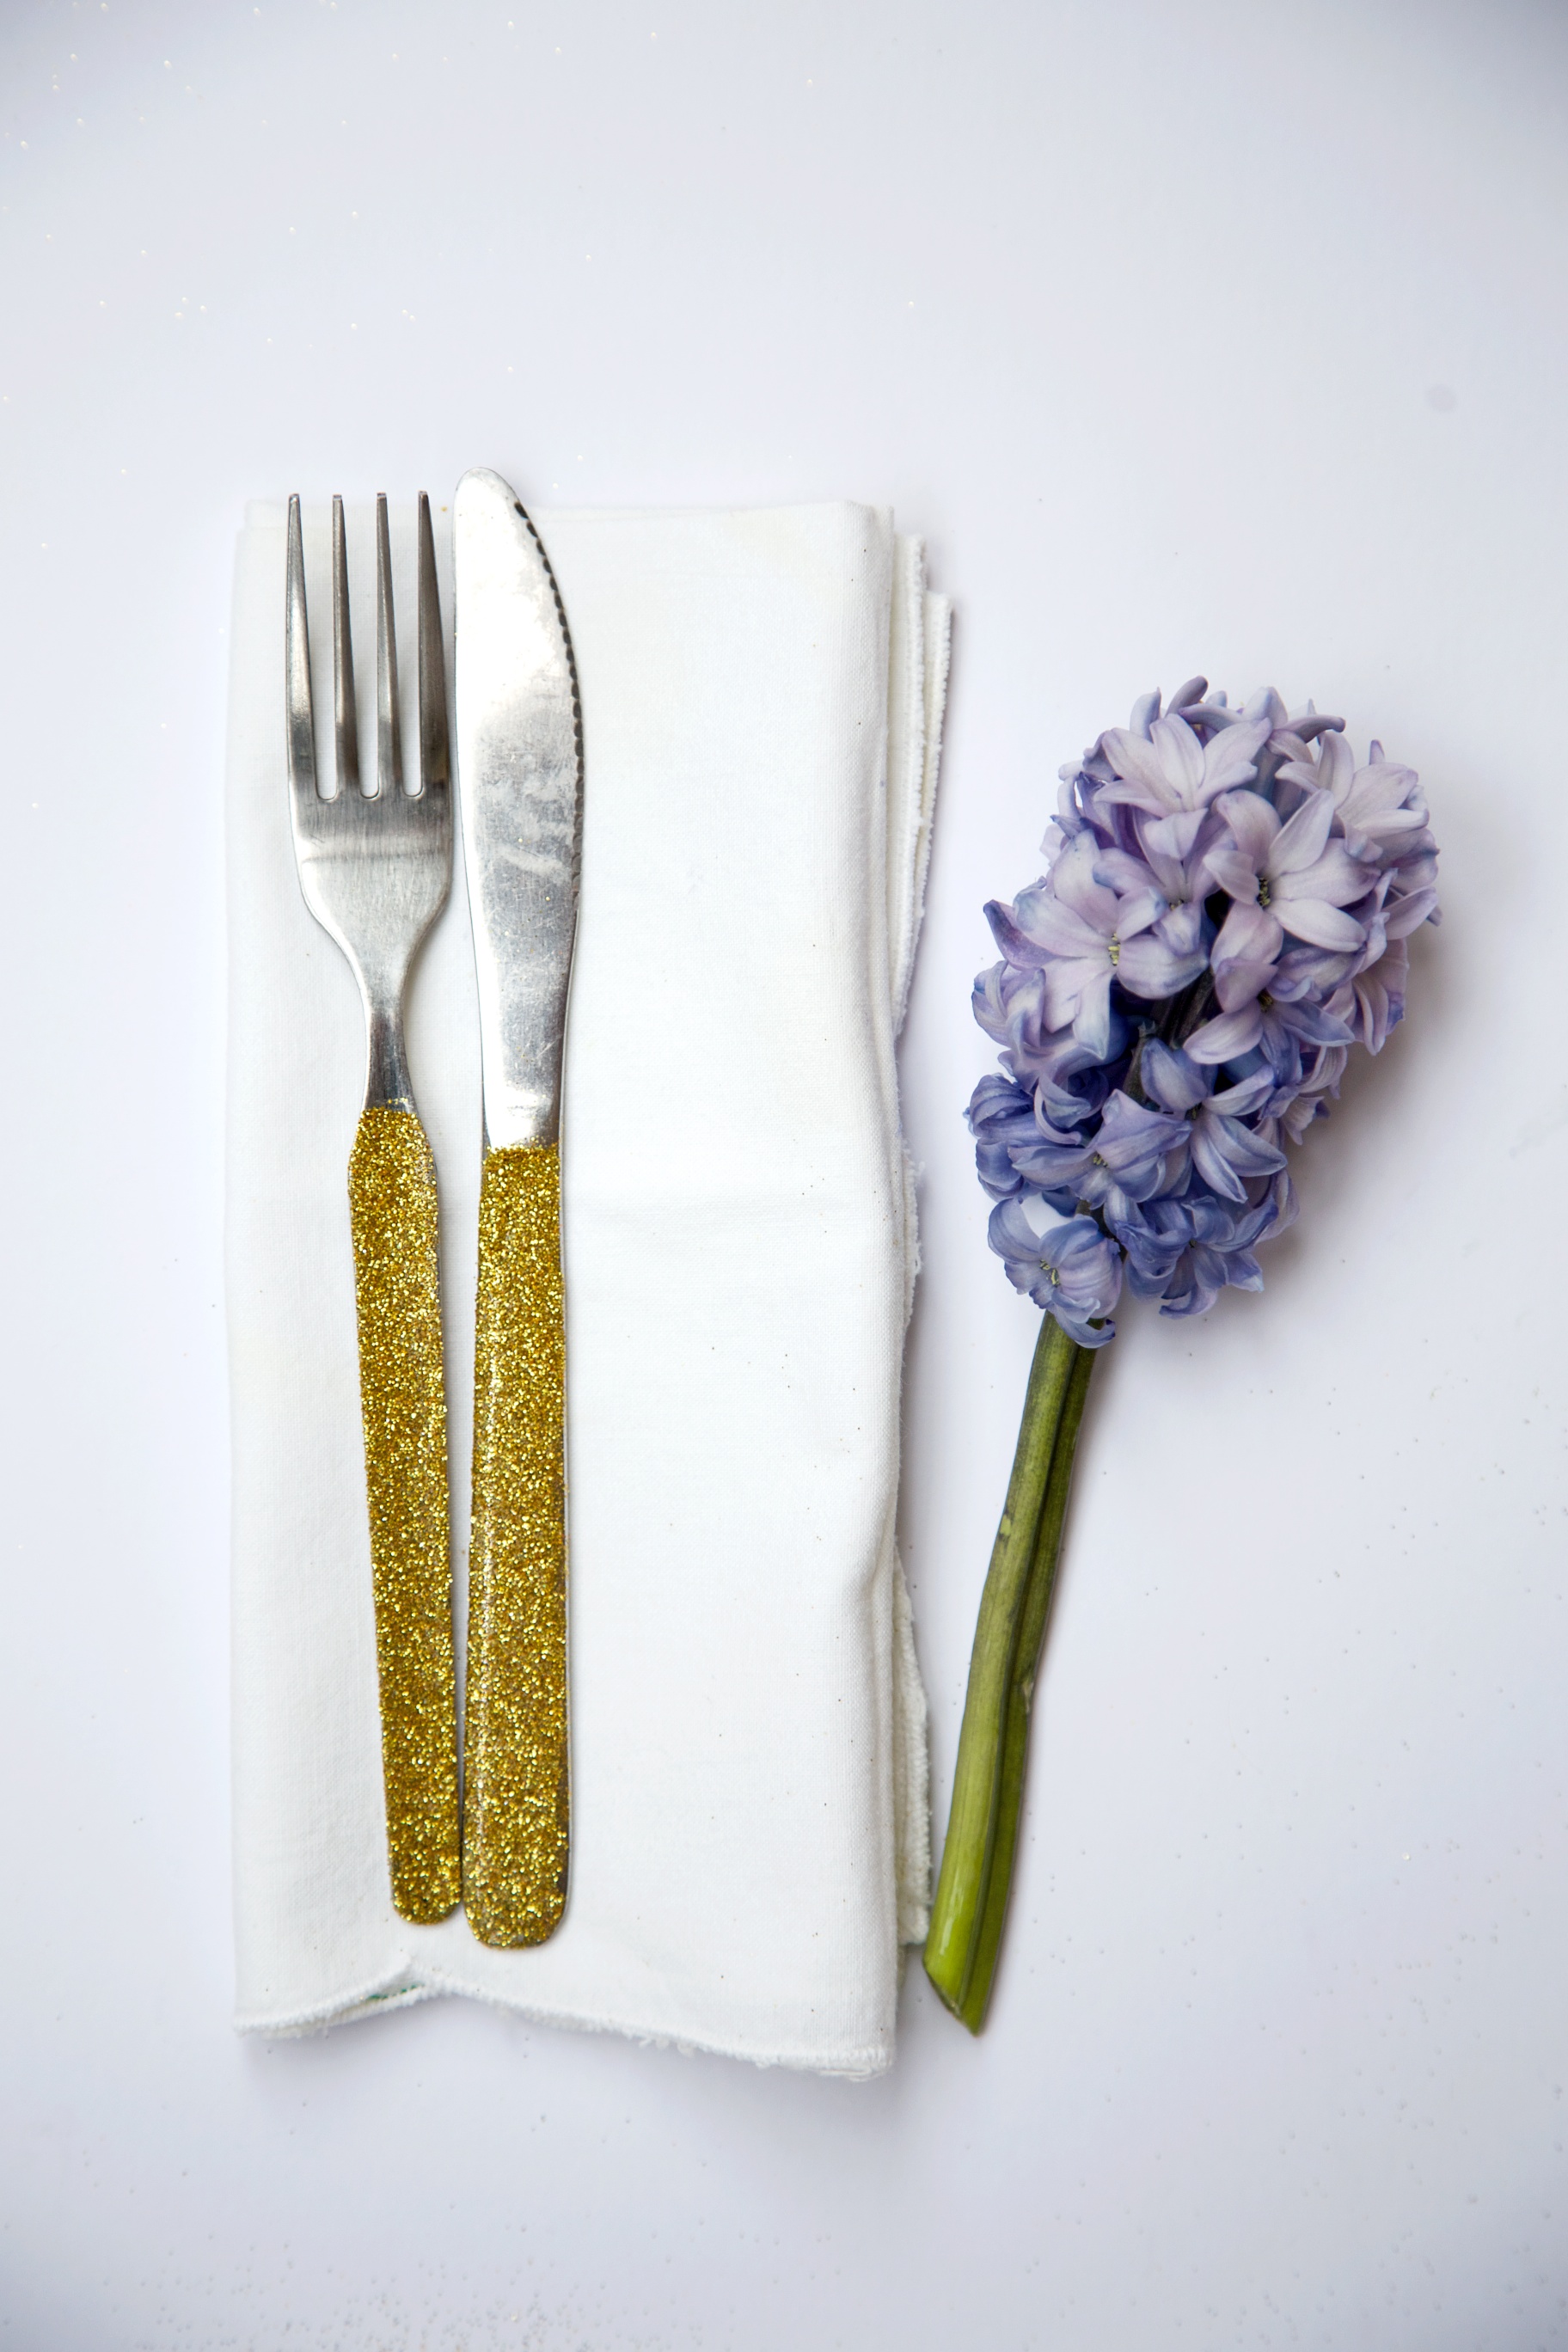
Forget the children - these are beautiful to play with and for adding a little sparkle to your dinner table or party buffet.

Take one plain set of mis matched cutlery and...

vintage cutlery

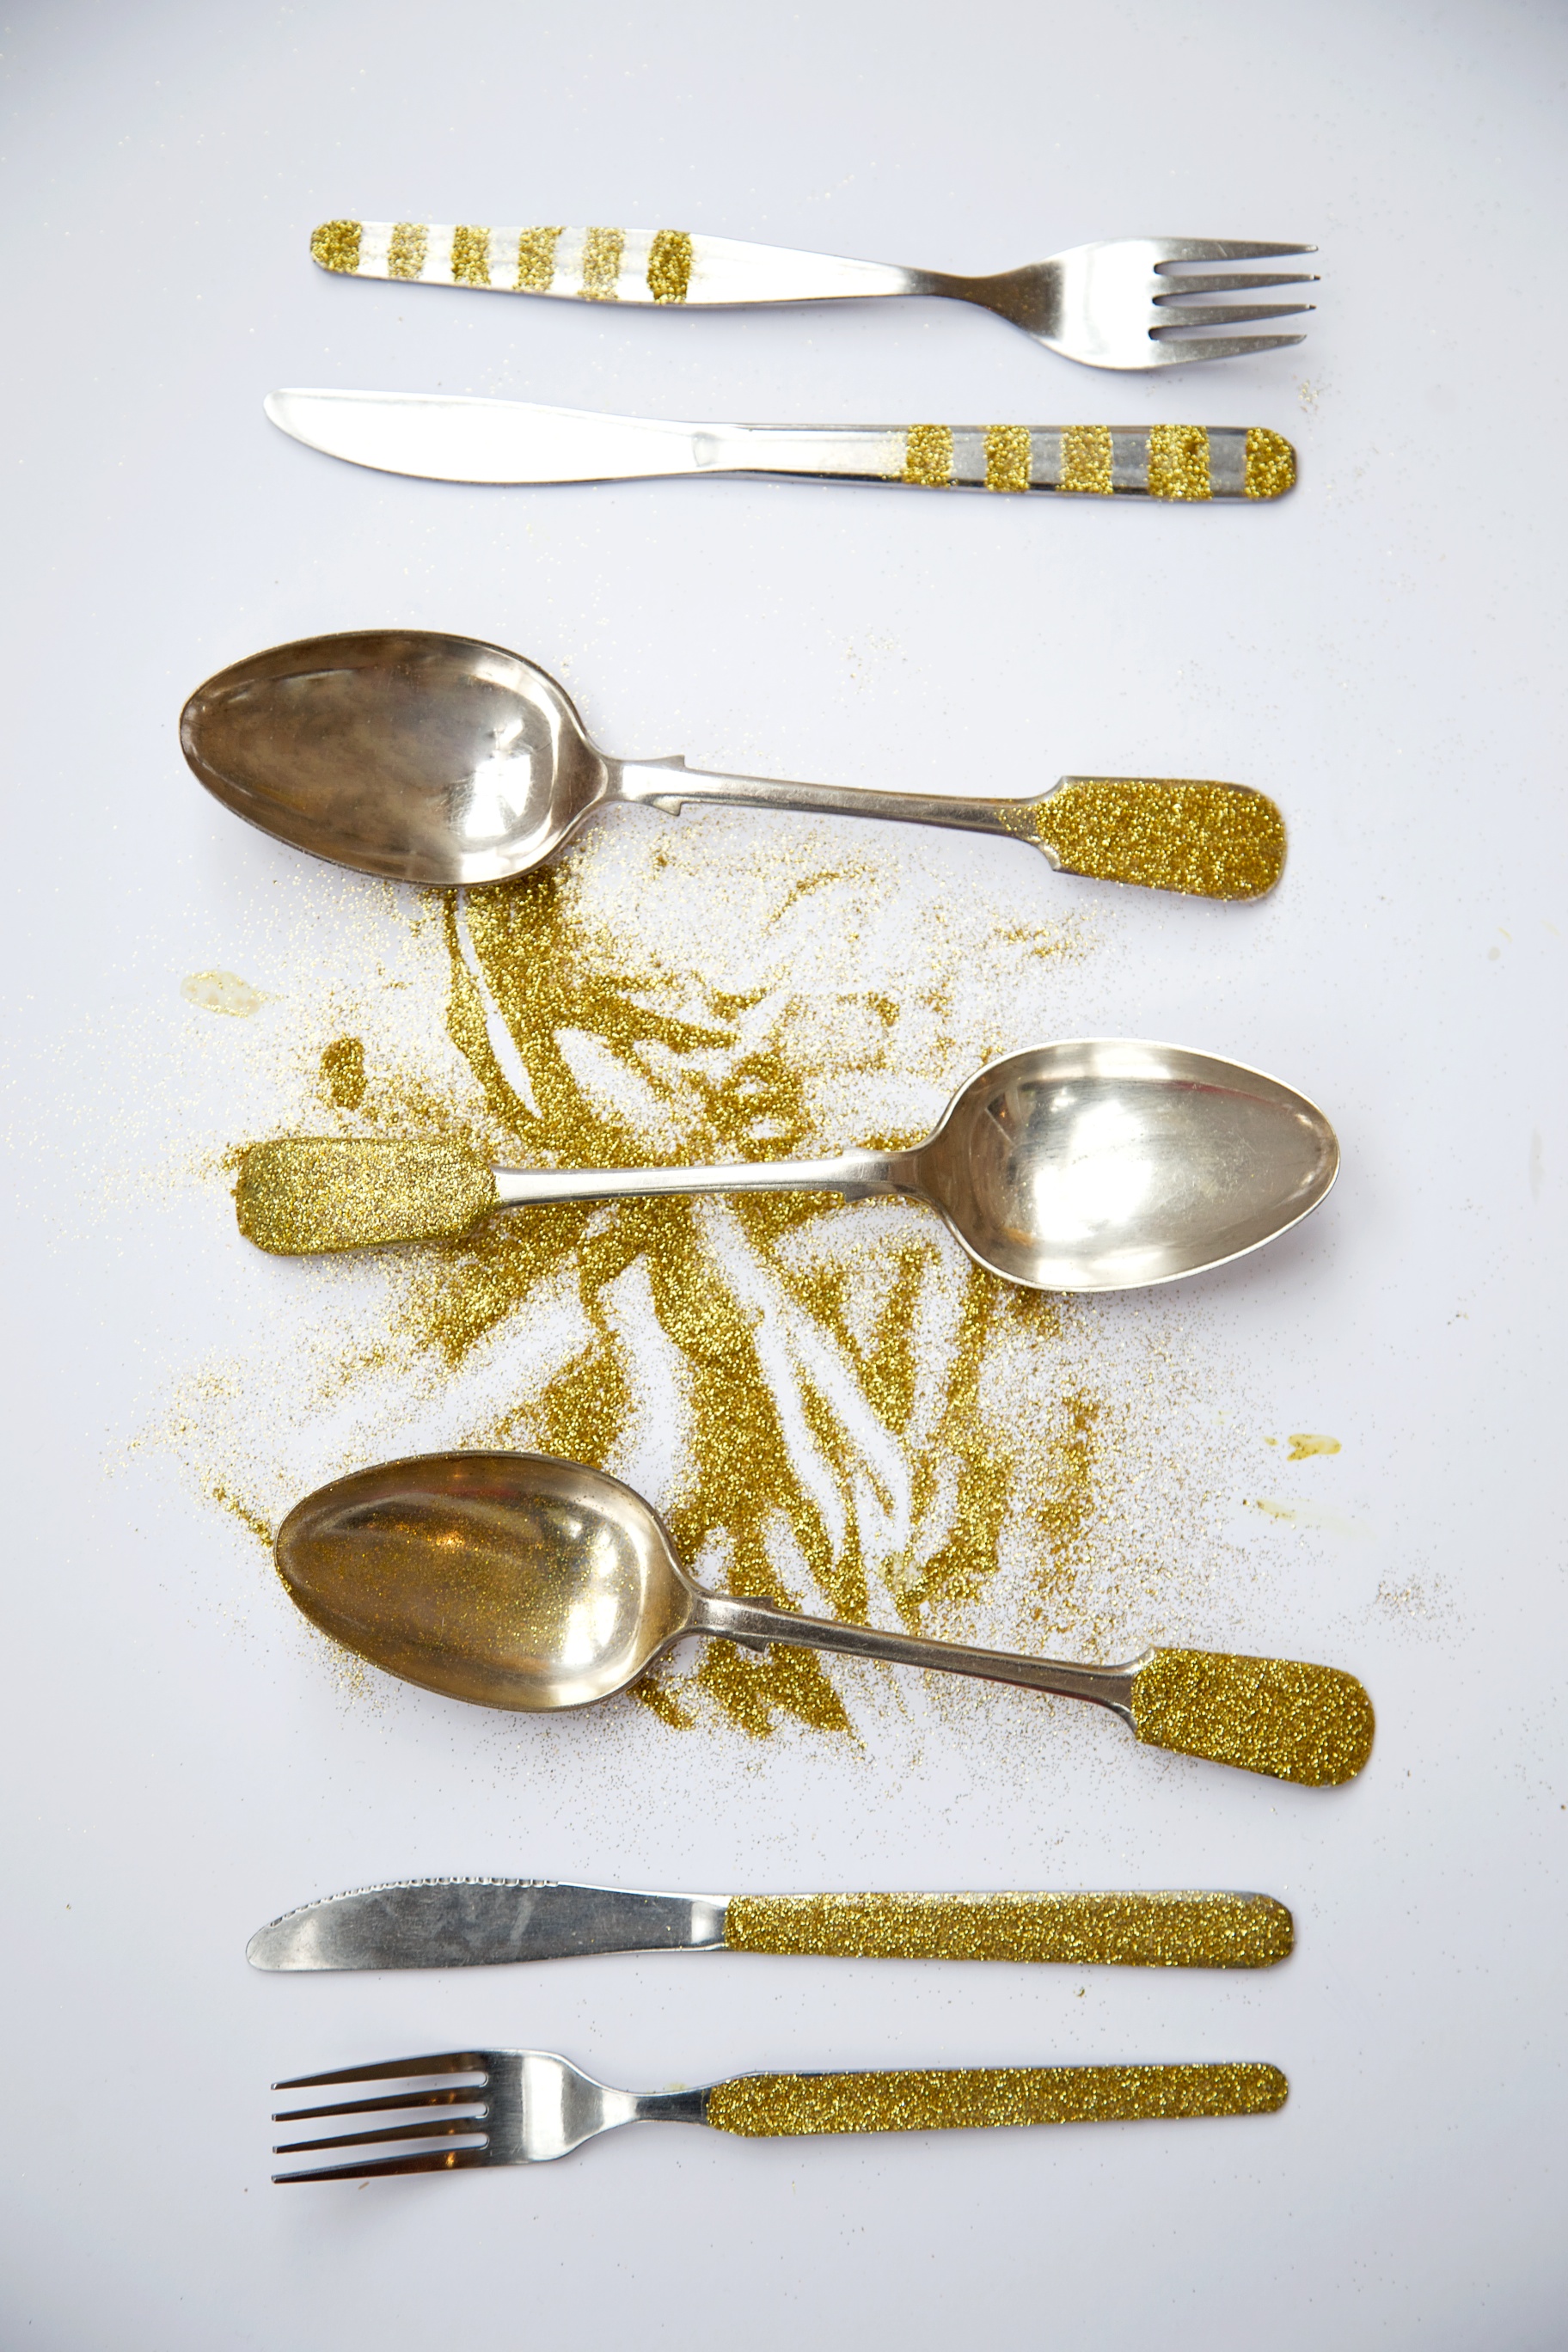
I picked up a collection of cutlery at my local charity shop for 10p a piece and 3 hallmarked  silver serving spoons for £1.50 each.

I raided my craft supplies and found a half empty pot of gold glitter and grabbed a clear nail varnish from the bathroom cabinet.

DIY Glitter Cutlery

There are lots of DIY tutorials on the internet for adding glitter to wooden spoons using the US product modge podge but in the absence of that magic glue, I found nail polish was perfect and creating a smooth, shiny finish.

It leaves a hard surface on the gilder meaning that there's no dreaded dust once dry.

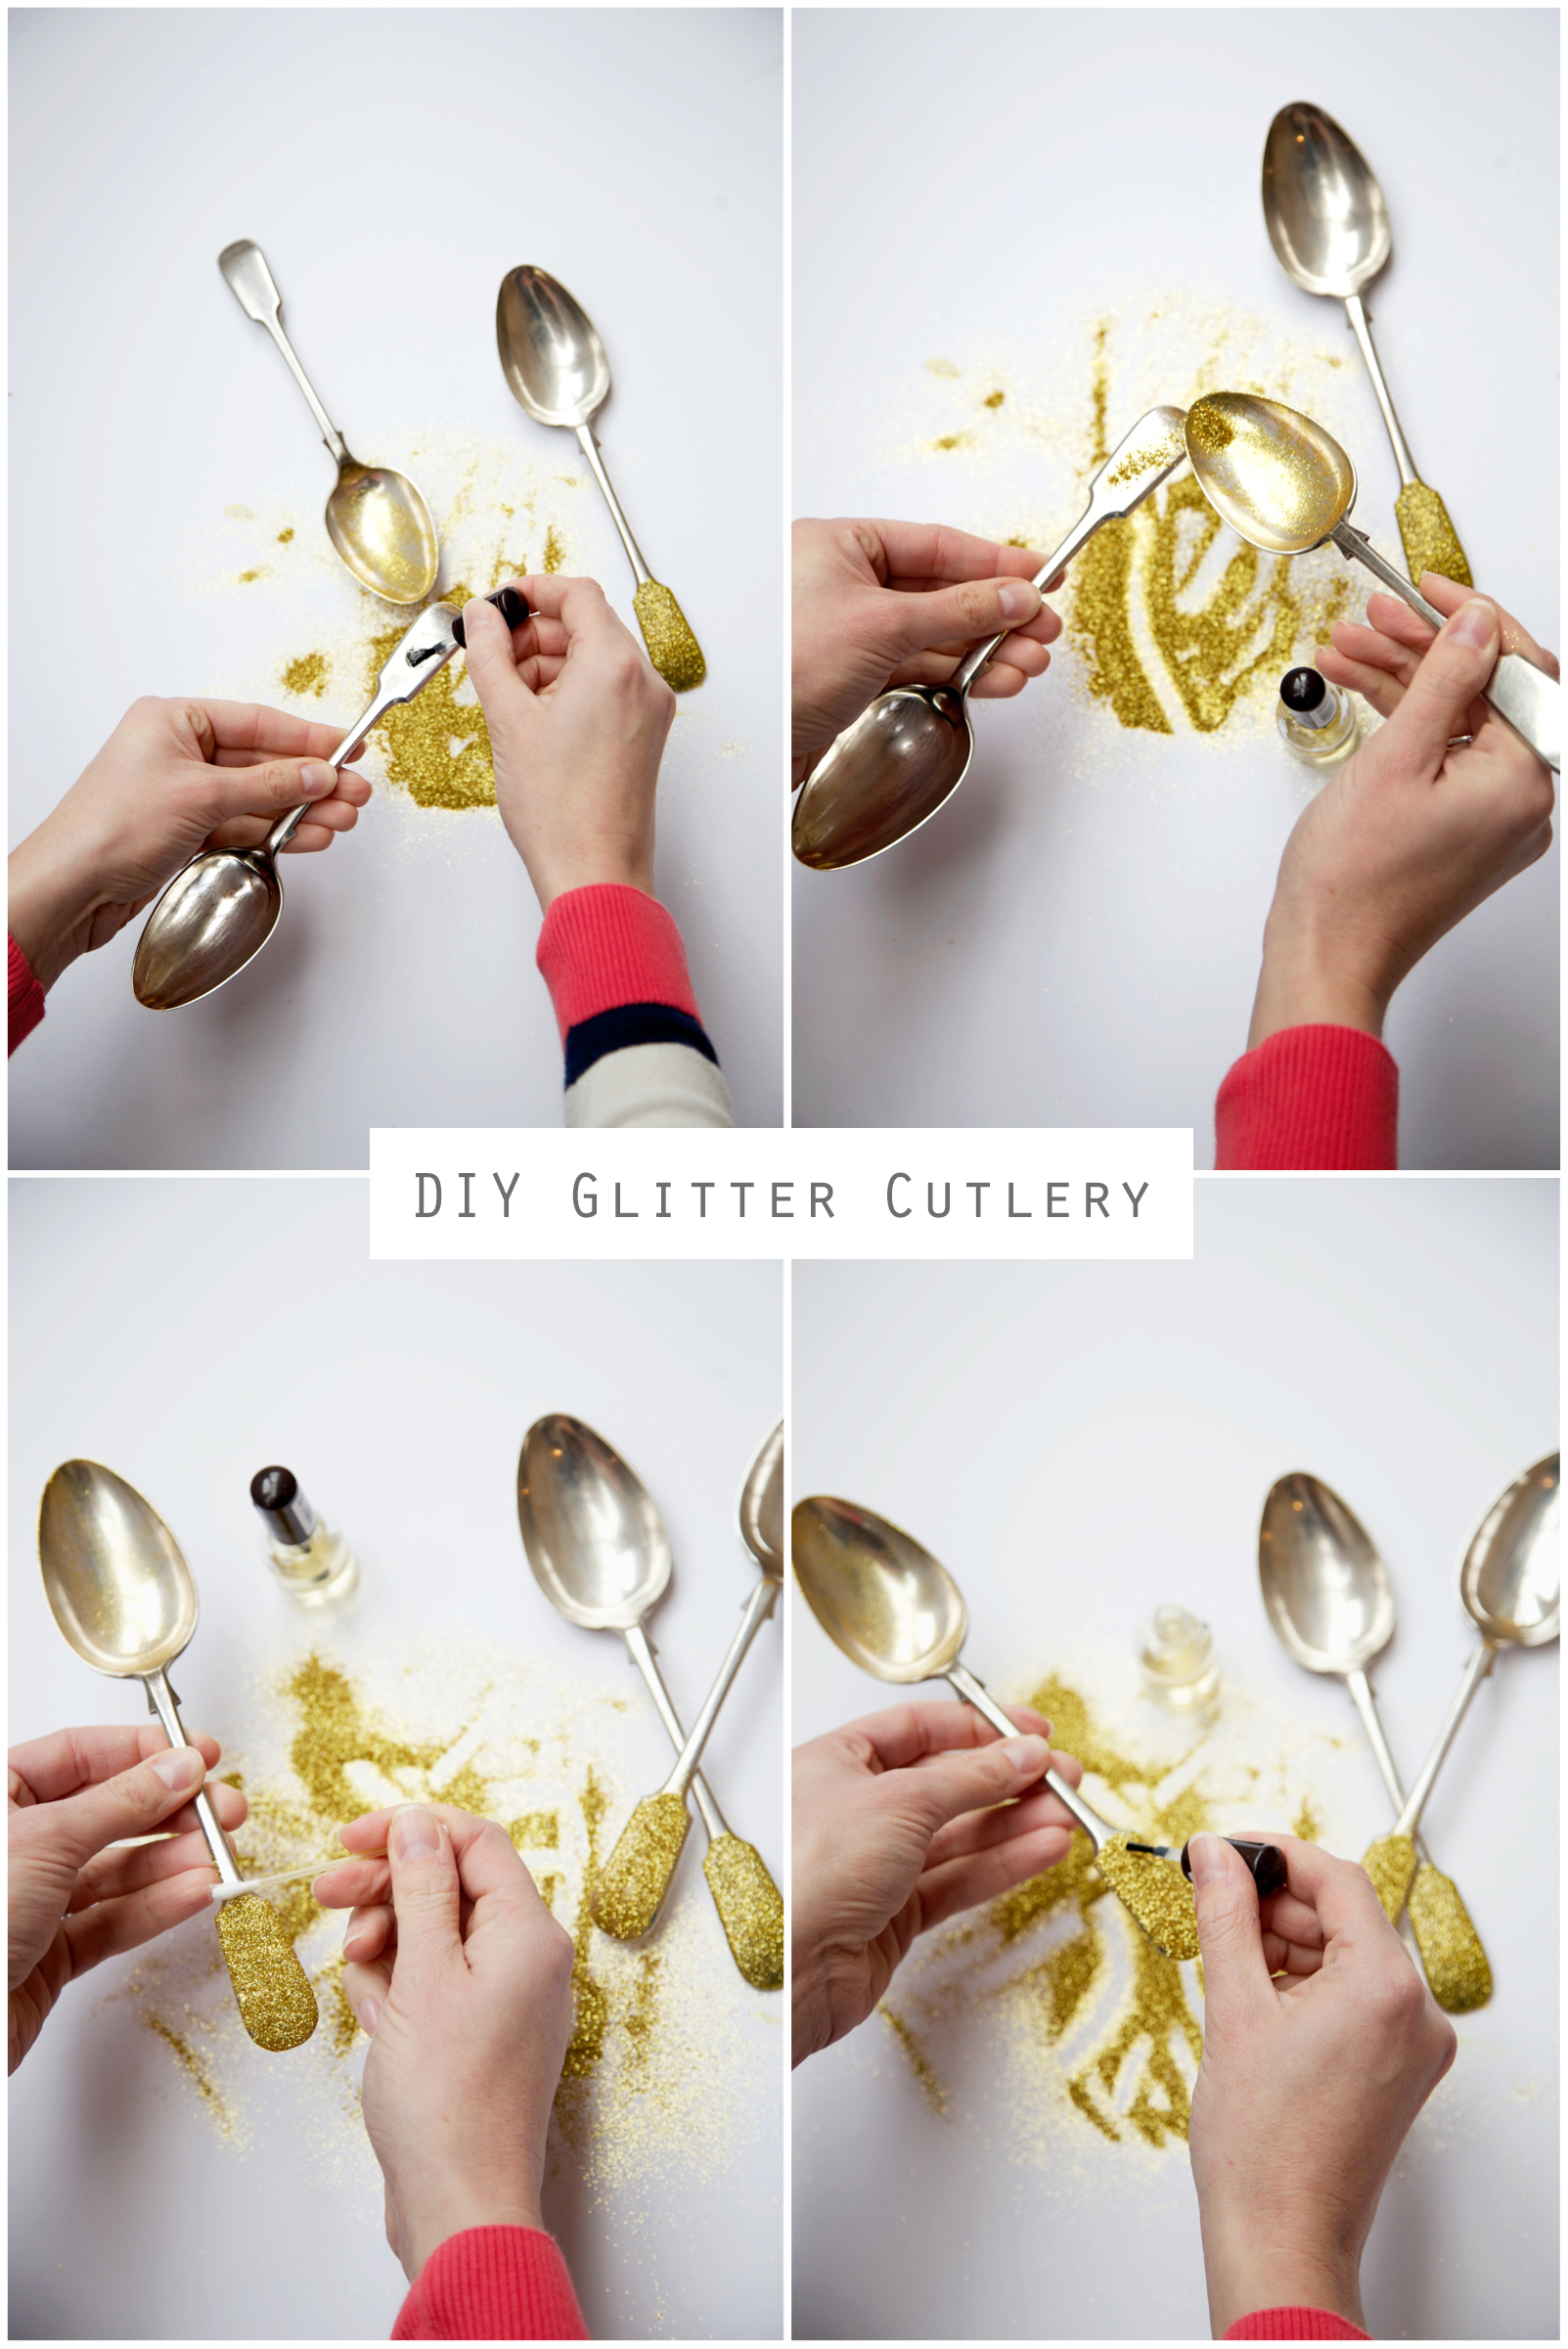
Glitter Cutlery Tutorial
Glitter Cutlery

Step 1
Over a piece of paper paint a think layer of nail varnish onto the area you want to glitter. 

Step 2
Using a spoon, generously sprinkle your wet area with glitter. Tap to shake off the excess. Leave to dry.

Take a cotton bud and wipe the excess for a smooth finish before step 3.

Step 3
Repeat step 1 over the glittered area and leave to dry.

When finished simply curl the long edges of your piece of paper towards each other and funnel the excess glitter back into the container for another day.

DIY Glitter Cutlery
Gold Glitter
Glitter Cutlery
Glitter Cutlery

Nail varnish will withstand washing, but not forever. So very now and again give them a revarnish.

DIY Glitter Cutlery.jpg

You could try bright coloured glitter for a Spring feel or coordinate your glitter to your party theme.

DIY Glitter Cutlery

I am going to make some more servers for my niece Yasmin's Flamingo First Birthday Party! I wonder how many shades of pink glitter there are!

DIY Glitter Tutorial

Linking up with Sunday Best Showcase & #MagpieMonday