In case you missed it here are my top 5 tips for photographing flowers:
1. LIGHT - botanicals always look better in natural light. NOT direct sunlight, nice soft, diffused light. Think cloudy but bright skies or a sunny day by the window. But pin or stick a piece of voile or muslin to the window to soften those harsh sun rays. Have a play. In direct sunlight you’ll see really harsh shadows and lines over your petals and colours can see flat. If you over exposure your flowers you’ll burn them out. Whites will look ghostly and vibrant colours will look flat with no detail. Use a reflector at the window too. A cake board does exactly the same job if you want a smaller, cheaper alternative. Gold for warm light and silver for cooler light bouncing off the board.
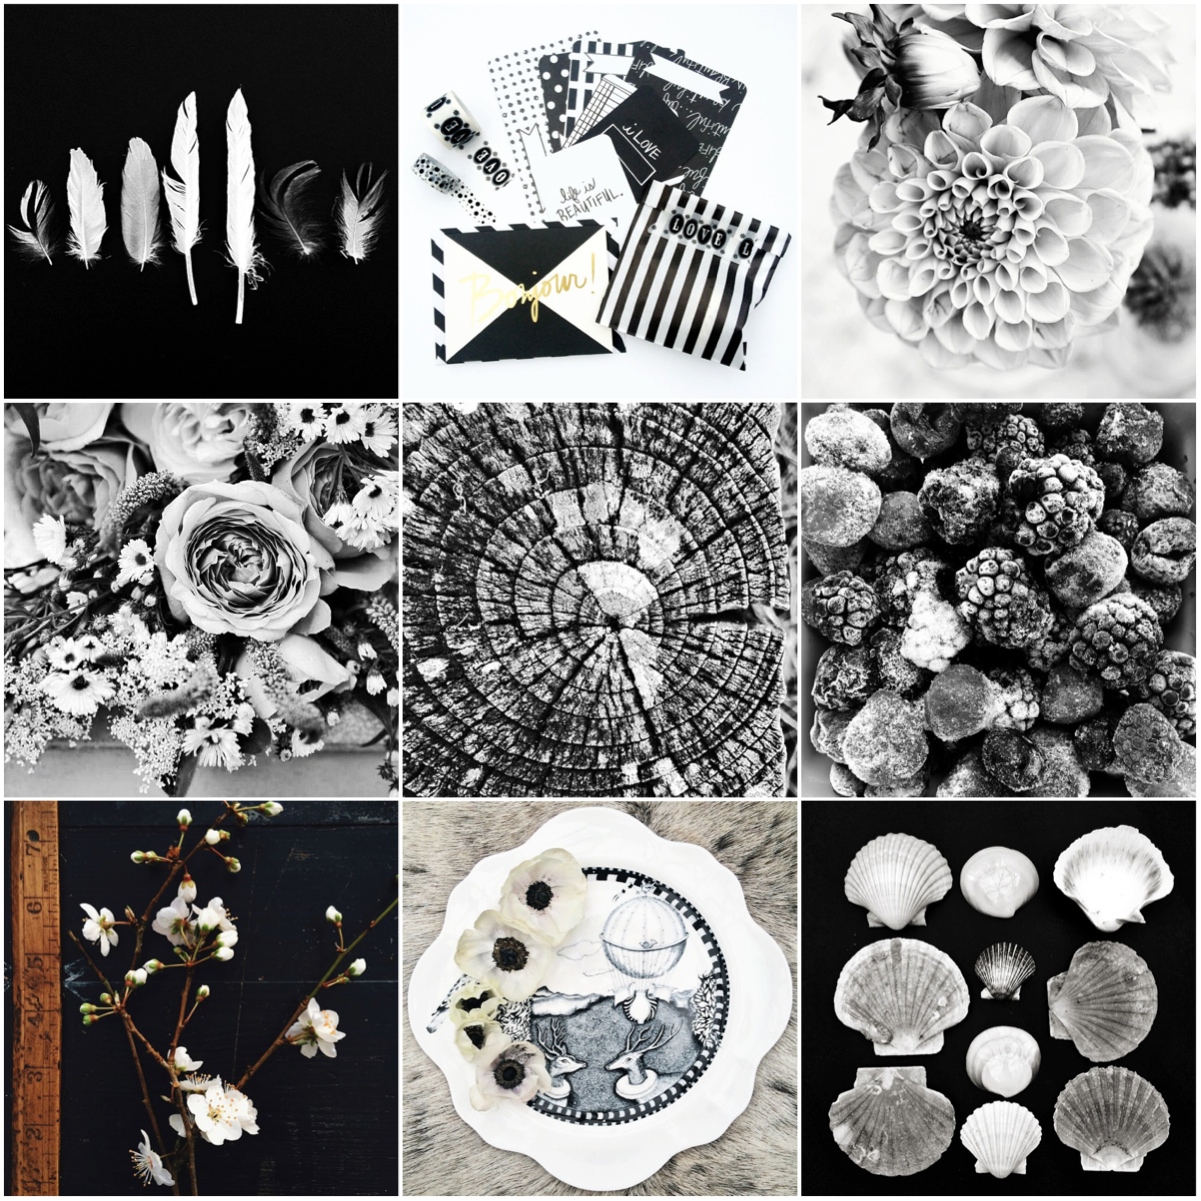
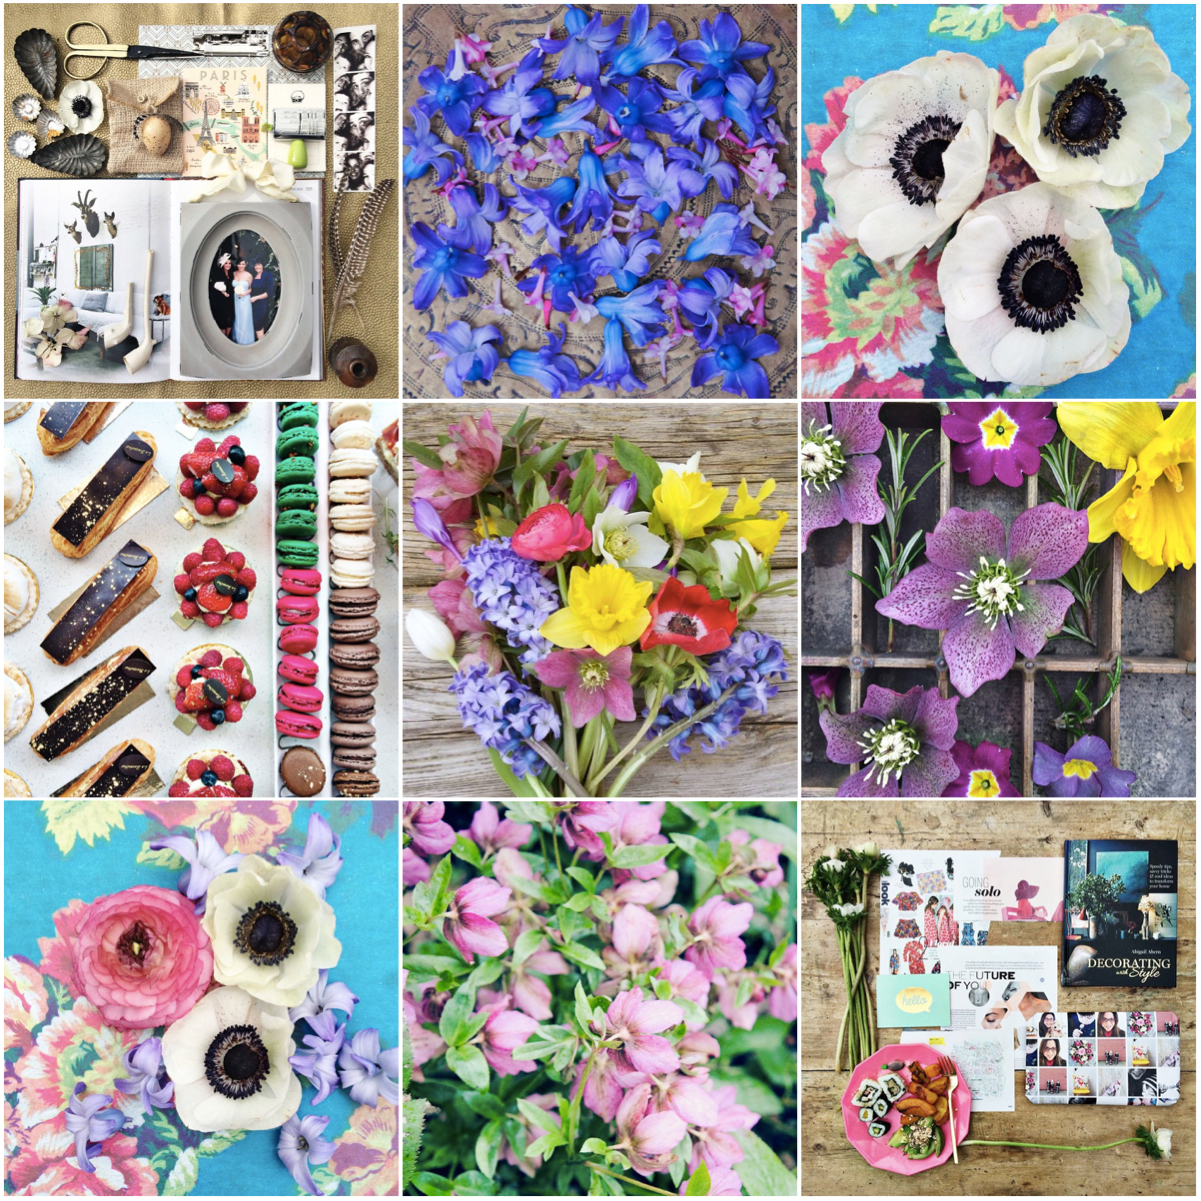
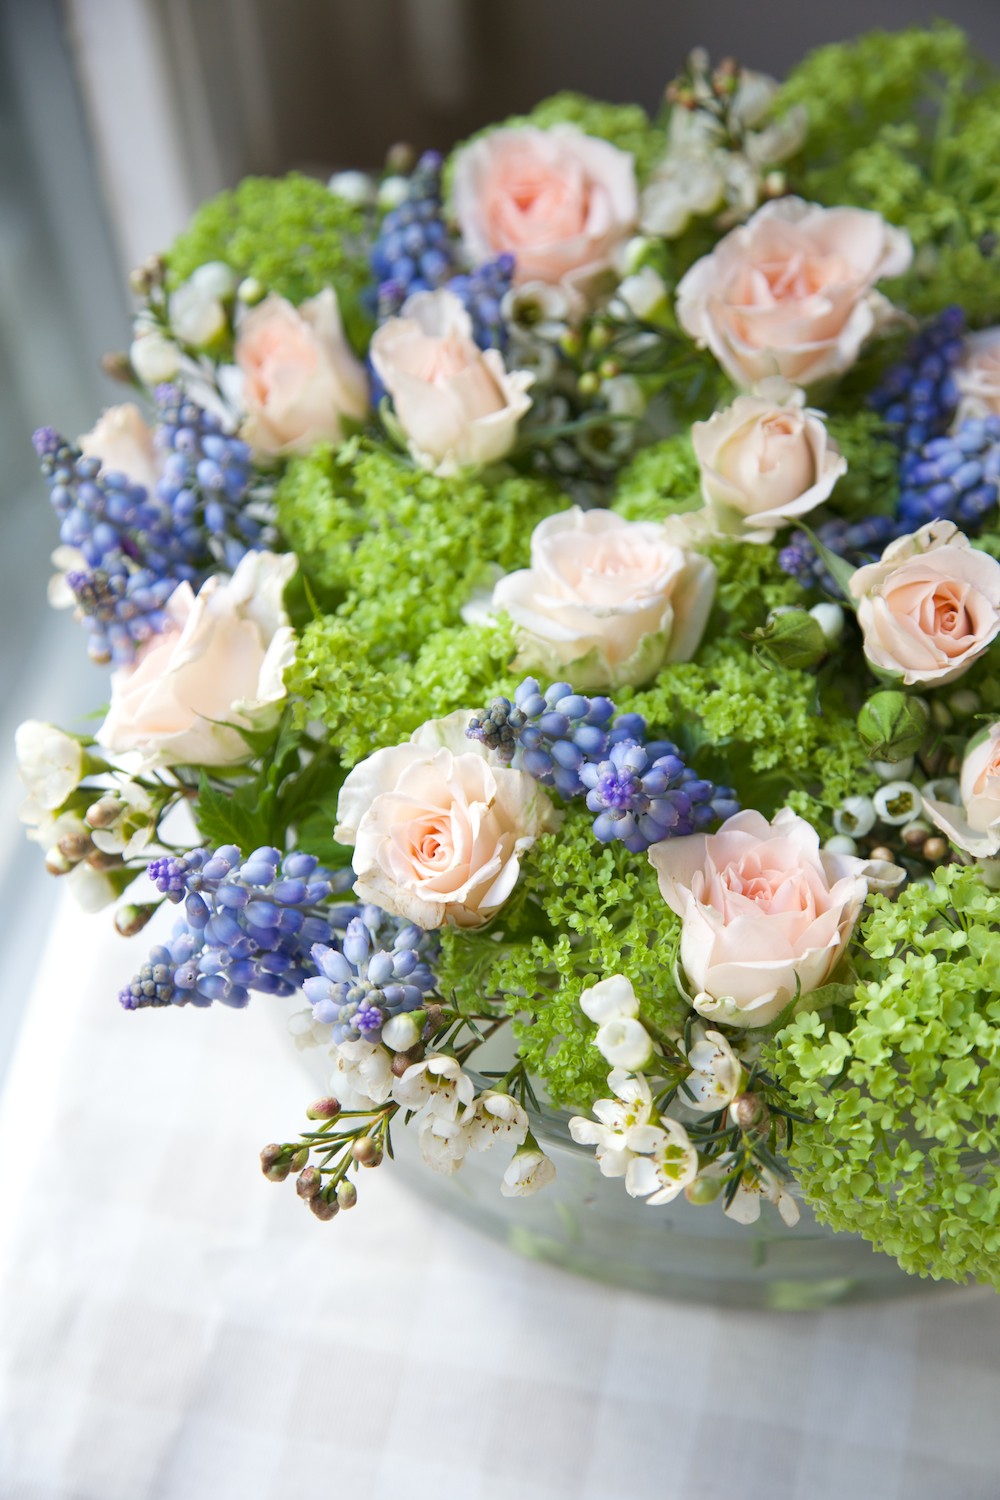
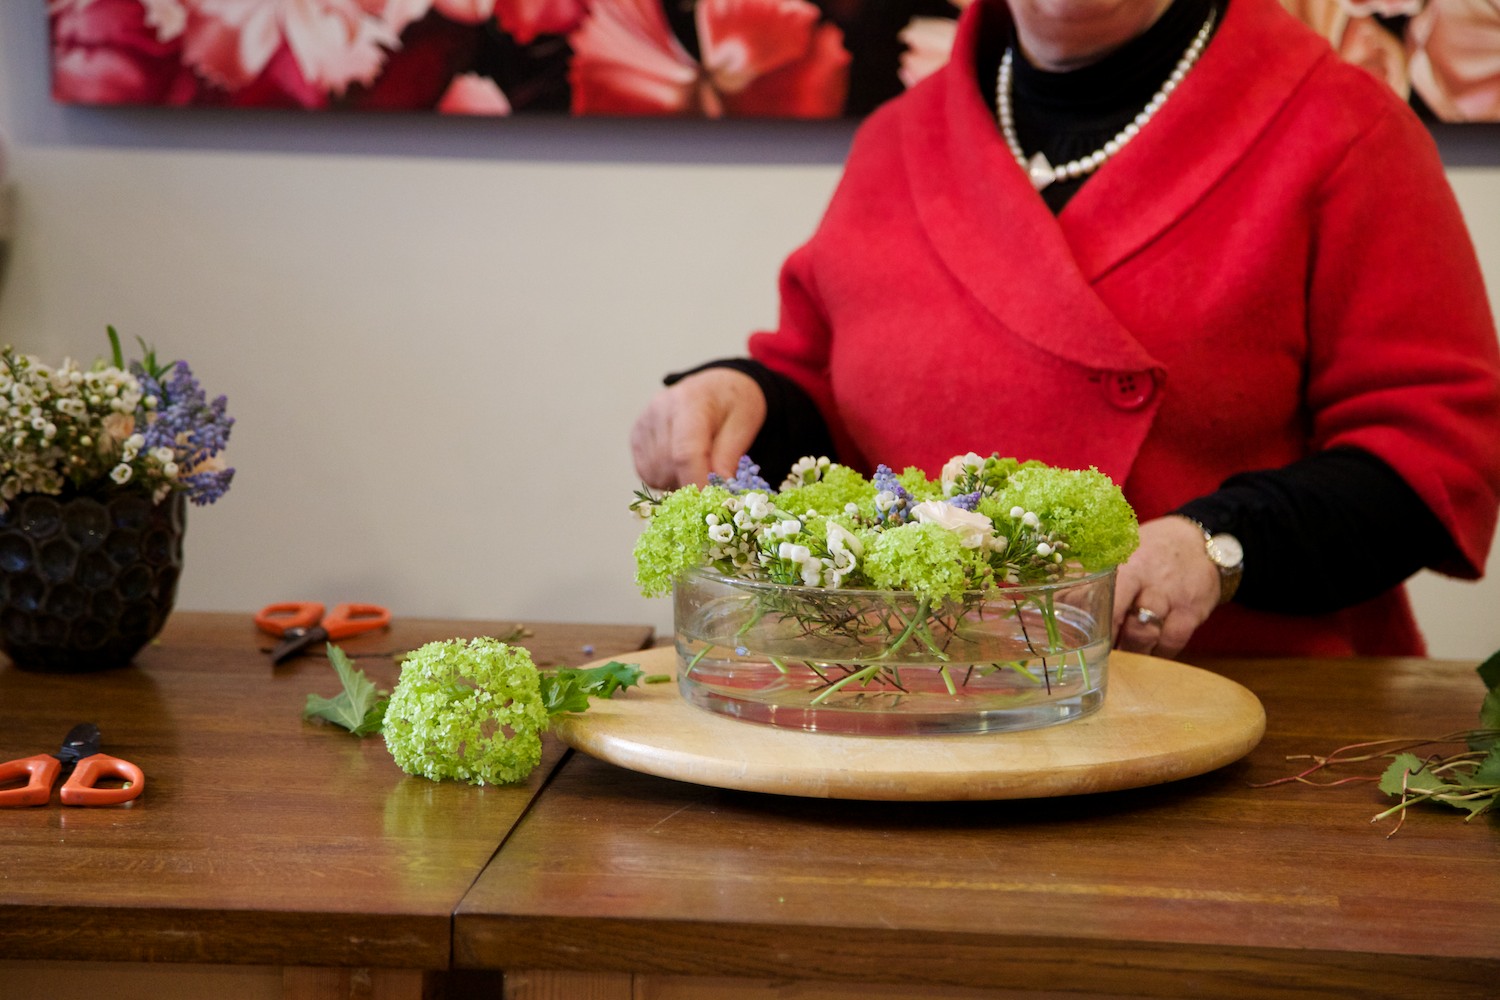
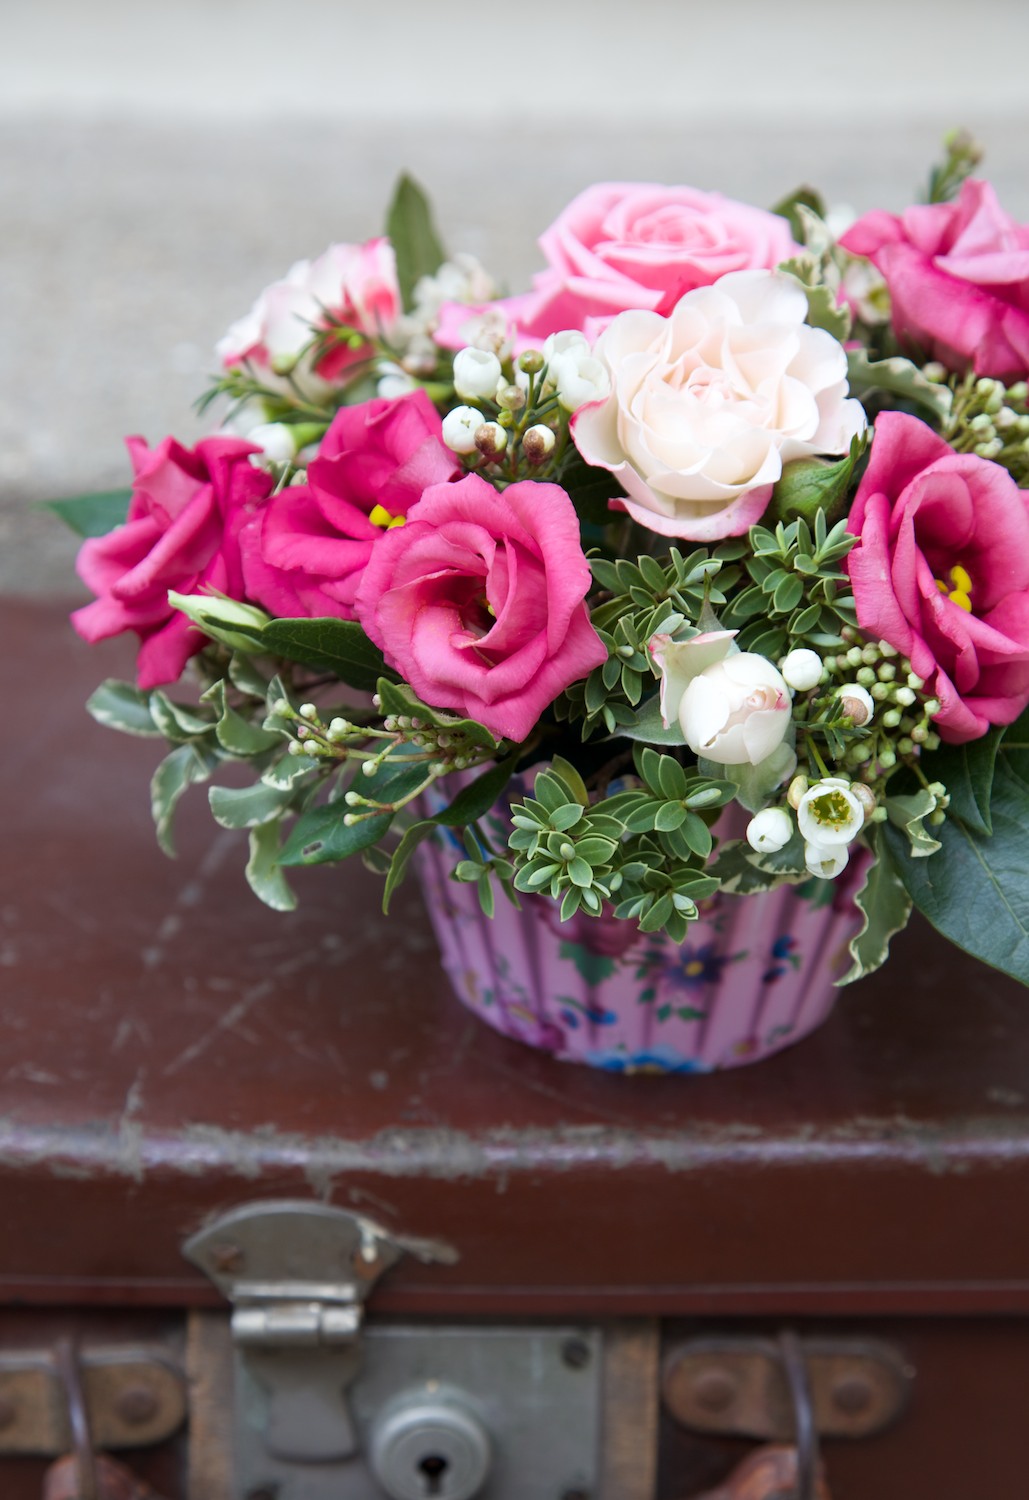
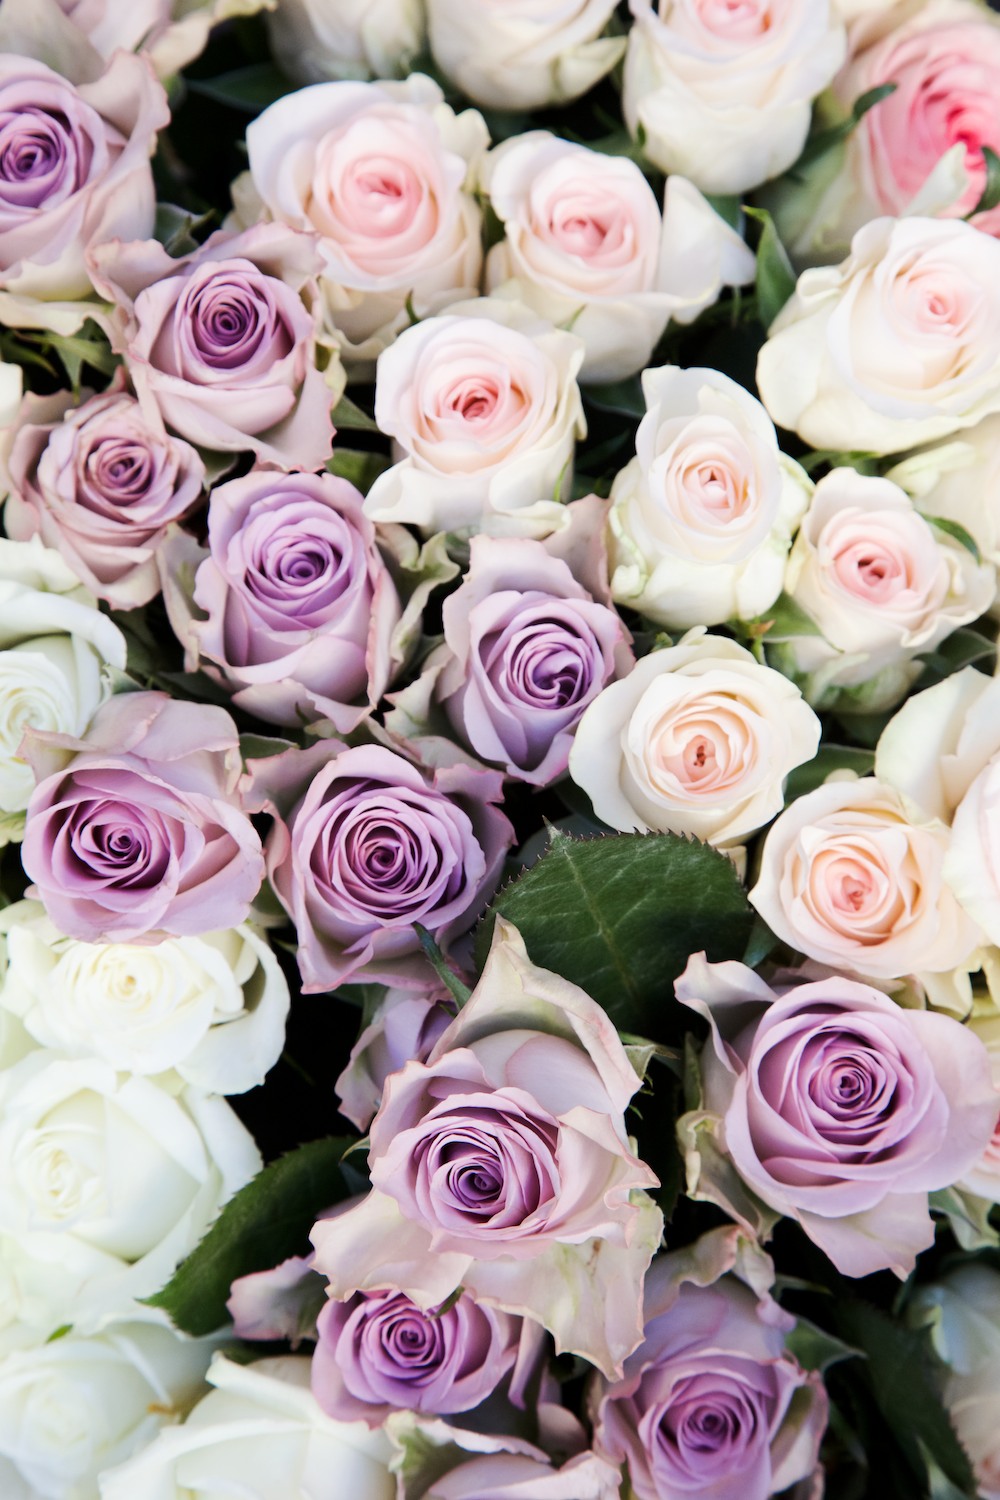
2. COMPOSITION - flowers are the best subject to play with! Stick them to walls, bend them, lay them in patterns, have fun! Remember if you are photographing them in a vase, make your tallest stem the same height as the vase. Embrace the rule of thirds and negative space, use tall straight stems as a natural leading line and think about what frames your background. Be careful to not let the background distract from your flowers. Tidy the kitchen surface, shut doors that show everyday clutter. In photography terms odd numbers are the magic numbers (except a pair which is an annoying exception to the rule) and try and create natural triangles in your image. So in a bunch of flowers find three of the same colour for example, that make a triangle shape in amongst the foliage. Play with the viewpoint and move around your flowers, taking photos from lots of angles. The more the better!
I have a new #backtobasics post covering composition coming up this week so check back in for a much more detailed discussion about composition.
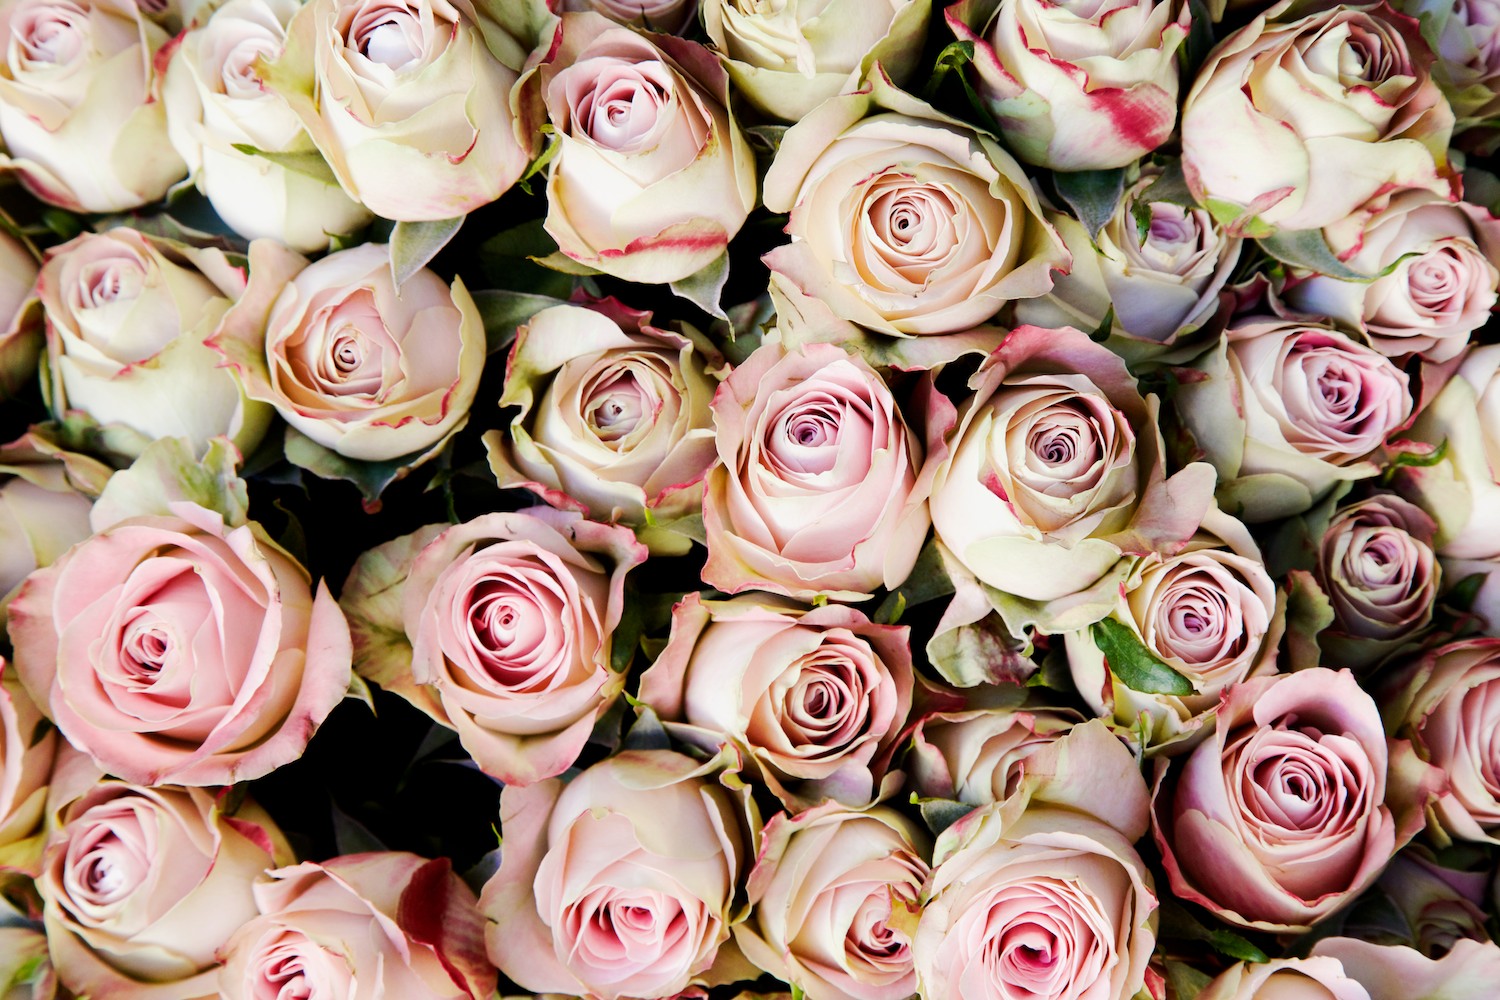
3. APERTURE - play around with your camera on the Aperture priority setting. Florals have such detail and creating a beautifully blurred background with a lower Aperture can transform your photo. You can create the same effect on your phone too if you use Instagram and the tilt shift editing tool. Check out this post on What is Aperture if you are not too sure! Sometimes flowers have lots of layers of detail and you need a higher Aperture to get all those layers in sharp focus. To still get that blurry background you need to move your flowers or vase far away from your background, like 10-15 feet if possible, to create that separation.
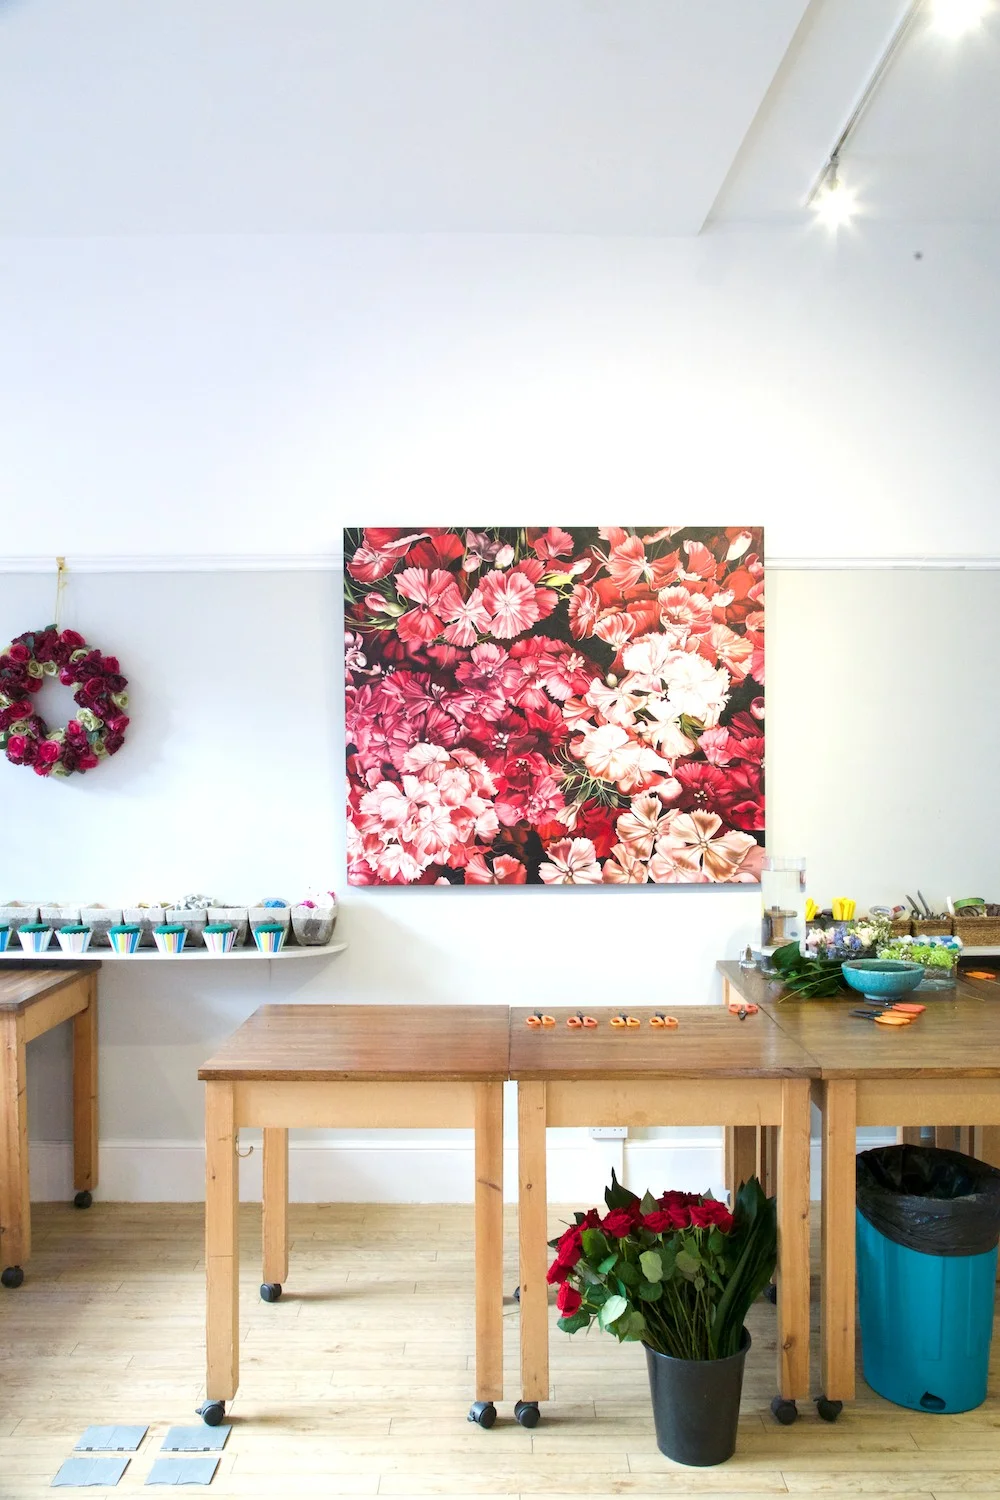
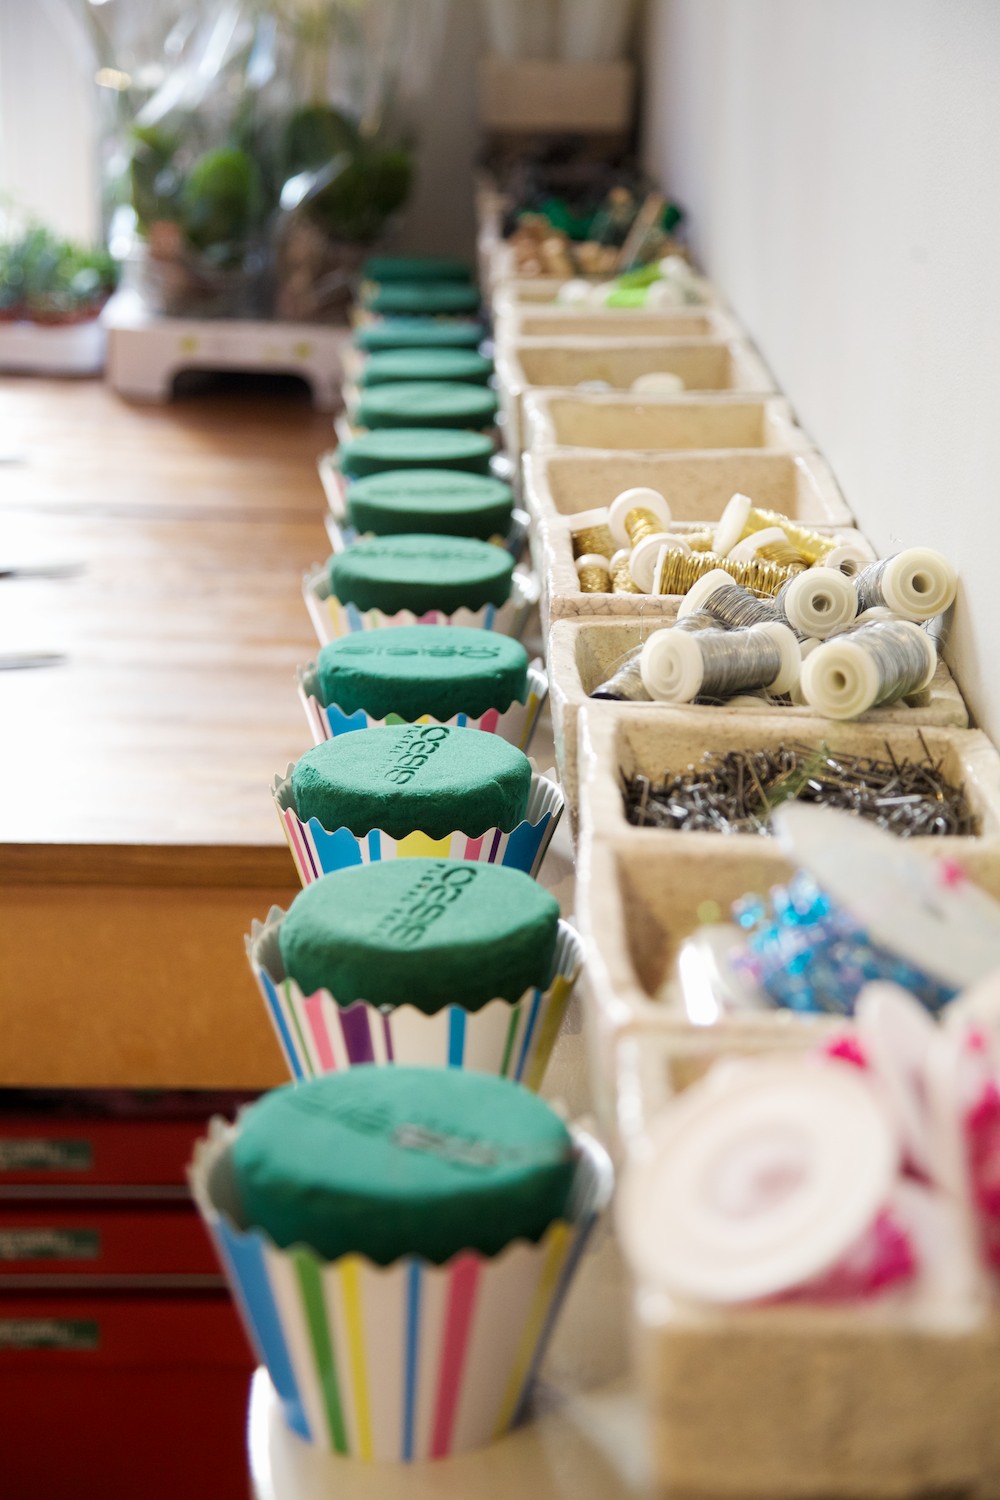
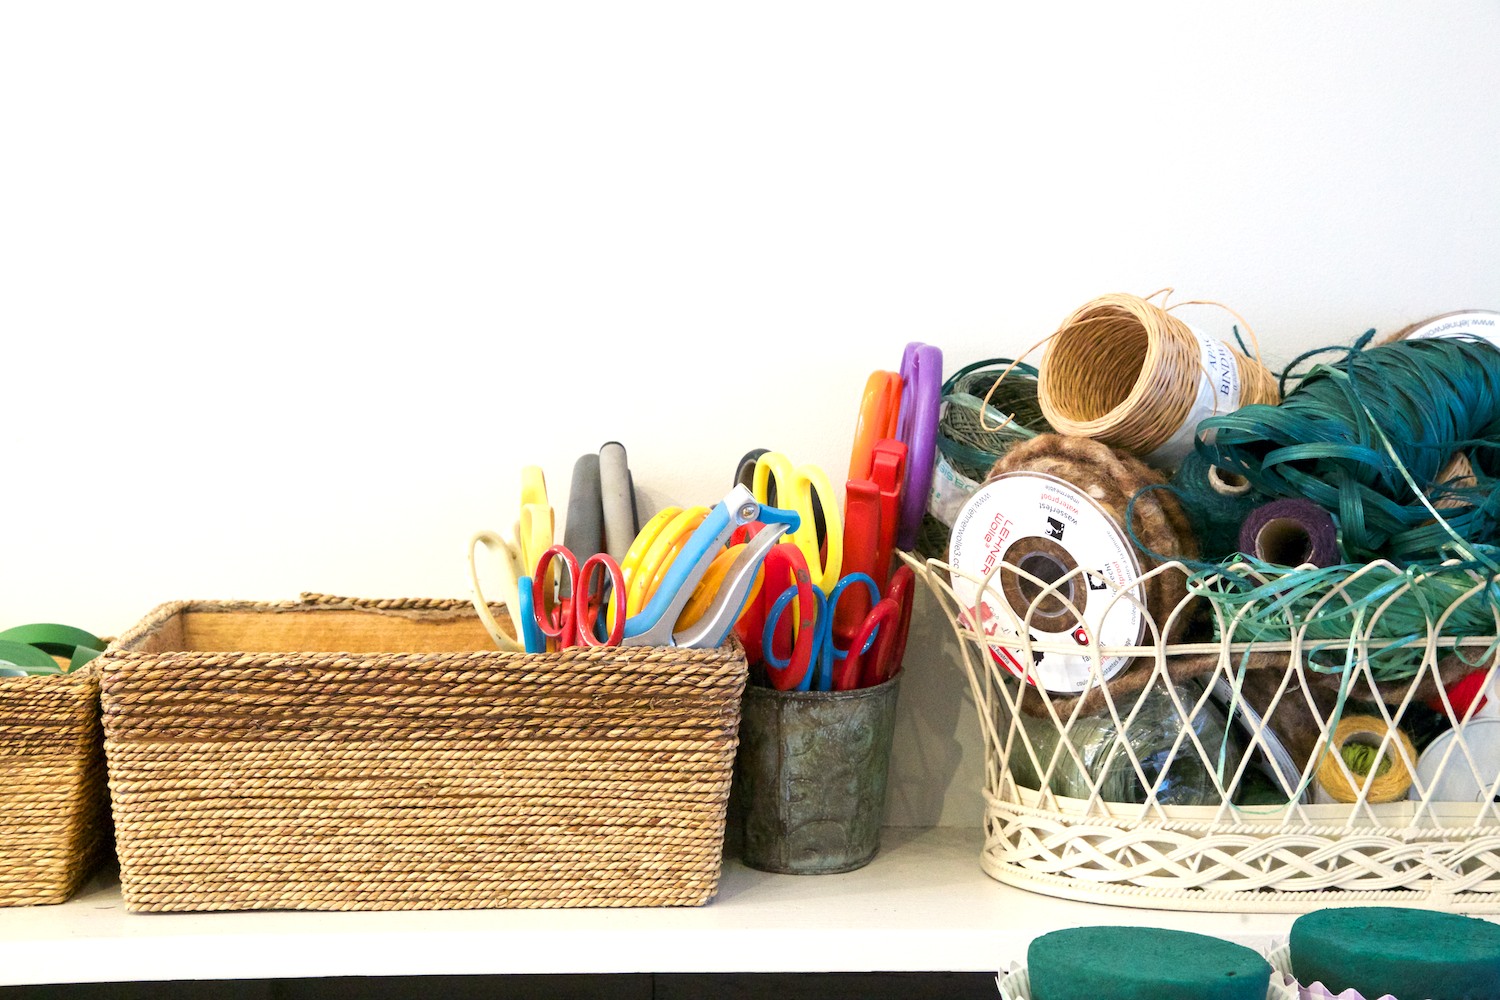
4. EQUIPMENT - photographing florals outside is wonderful, but the wind is not your friend! It is definitely worth using a tripod for outdoor floral photography. Flowers have incredible detail and you may be pleased to know that high quality camera phones can capture that macro detail that often DSLR's will need a specific macro lens for. You can buy extra lenses for your phones and polarising filters for your DSLR will help reduce glare and improve the ability to capture the depth of colour. Don't be afraid to be "that person" lying on the ground with a tripod legs splayed to bursting point. Just think of the photos you will capture!
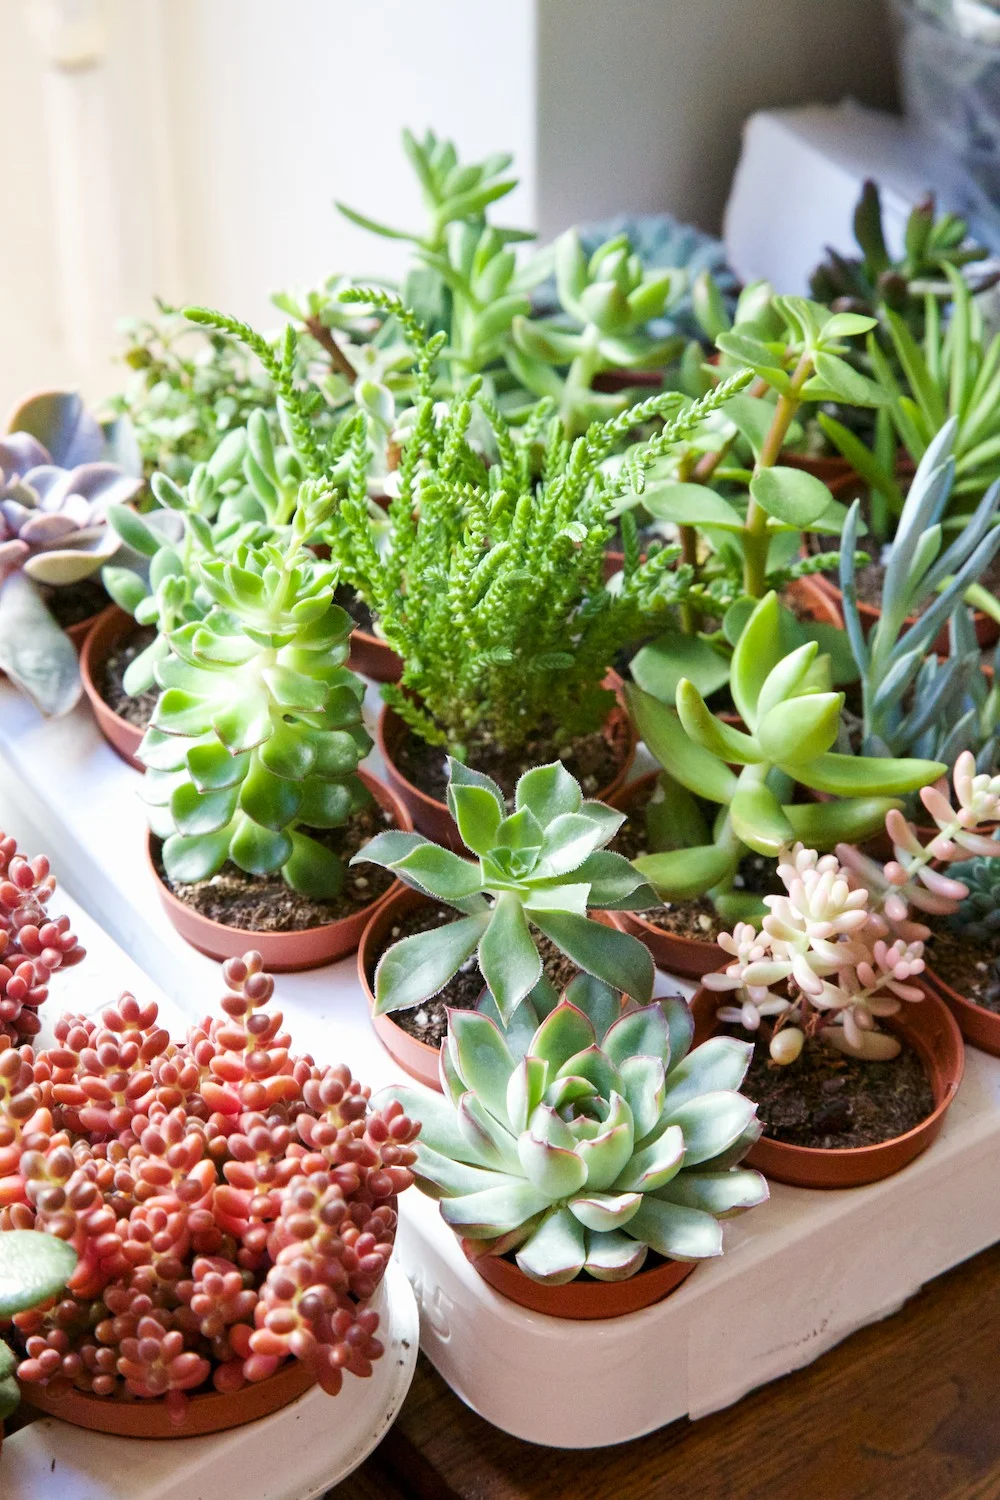
5. PRACTISE - I try and take daily pictures of the flowers in my home and garden every day which I share on my Instagram feed. And I try and take myself off for half an hour over the weekend and practise in different light conditions and play with composition. It's therapeutic and honestly will help improve your technical skills. Cut flowers are the best still life because they are still! They don't answer back, they don't need bribing with chocolate and they make for beautiful images you will be proud of. Ooh and don't forget to edit!
It is not cheating to edit your photos!
I tweak my phone images with a little brightening, a little sharpening, a little more contrast and it's time well spent. You'll be amazed at how subtle editing processes like altering your white balance, playing with exposure and saturation can make a big difference.
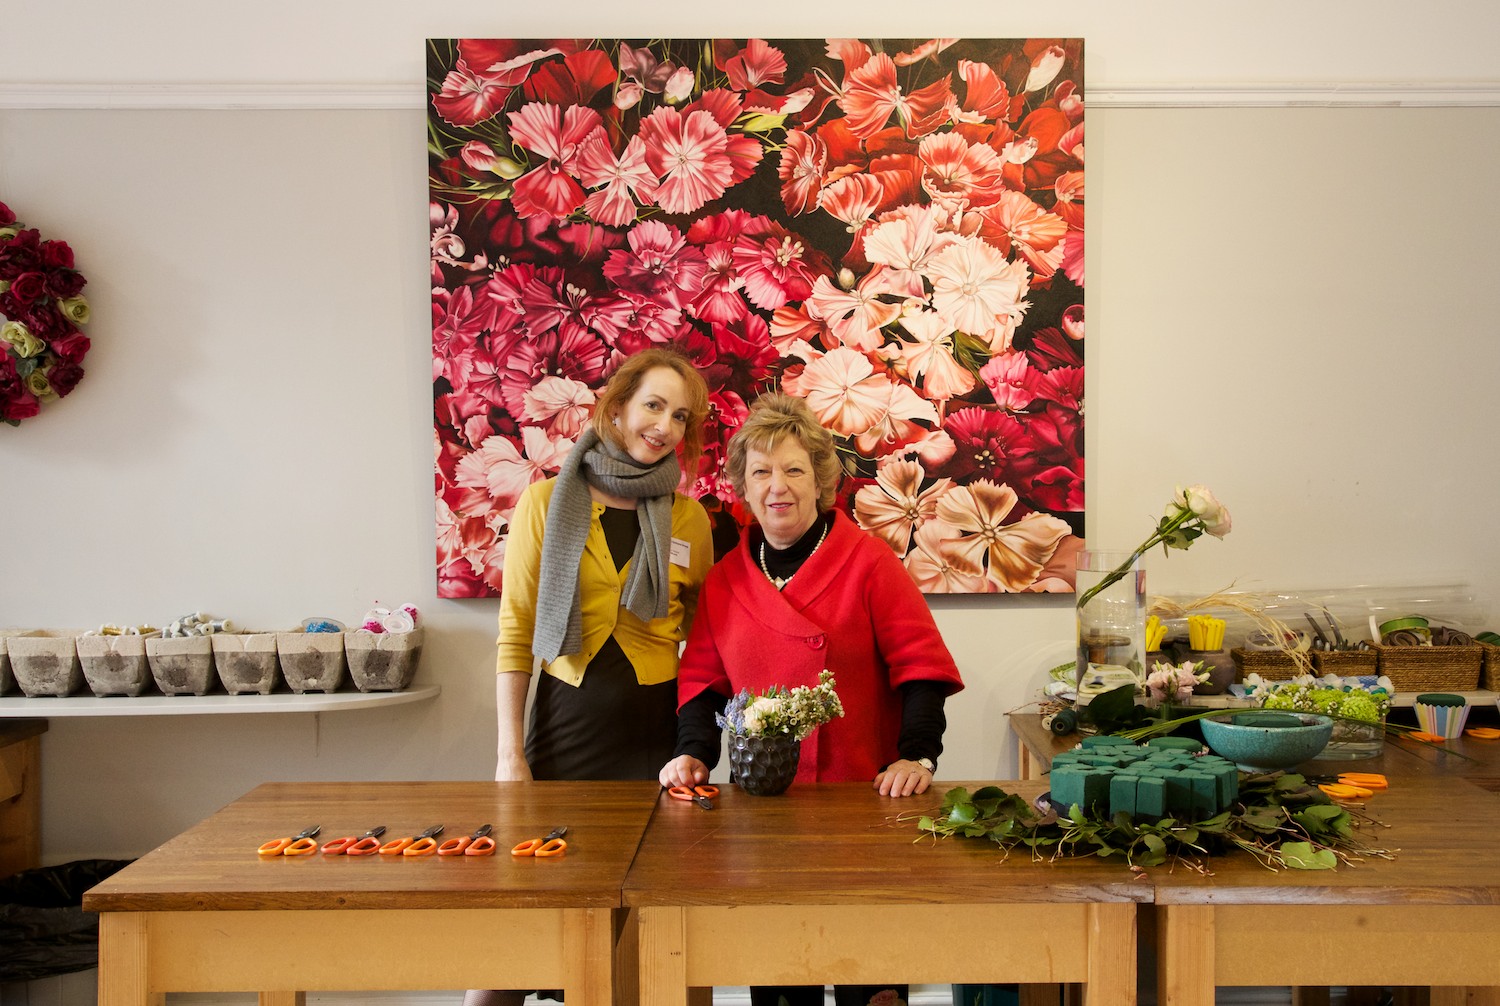
Thank you for having me at such a lovely event BritMums and Gorkana.